
GeoDirectory Options – Setup Tutorials
1. Geo Directory Options
More point and click options for GeoDirectory. Show profile tabs by listing owner or non-listing owner. Users can choose any category they want to display.
-
This section introduces additional customization options in GeoDirectory.
-
You can display profile tabs depending on whether the user is a listing owner or not.
-
Users are also able to select any category they wish to display.
2. Required Plugin
Both plugins are required to use GeoDirectory Options correctly. Ensure that these plugins are installed and activated before proceeding with setup.
-
wpapps Press
-
wpapps GeoDirectory Options
3. Basic Setup
The Fluent Forms integration in GeoDirectory Options enables powerful and flexible frontend form functionality for GeoDirectory listings. With this feature, all key listing interactions—such as contacting listing owners, claiming listings, adding new listings, and editing existing listings—can be handled entirely through Fluent Forms.
This integration allows forms to automatically connect with GeoDirectory listing data, including listing emails, ownership details, and update links. As a result, users can interact with listings directly from the frontend, while administrators and listing owners receive accurate, listing-specific email notifications.
By using Fluent Forms, GeoDirectory-powered websites benefit from a smoother user experience, reduced reliance on the WordPress admin area, and more customizable form designs—making listing management faster, cleaner, and more user-friendly for everyone.
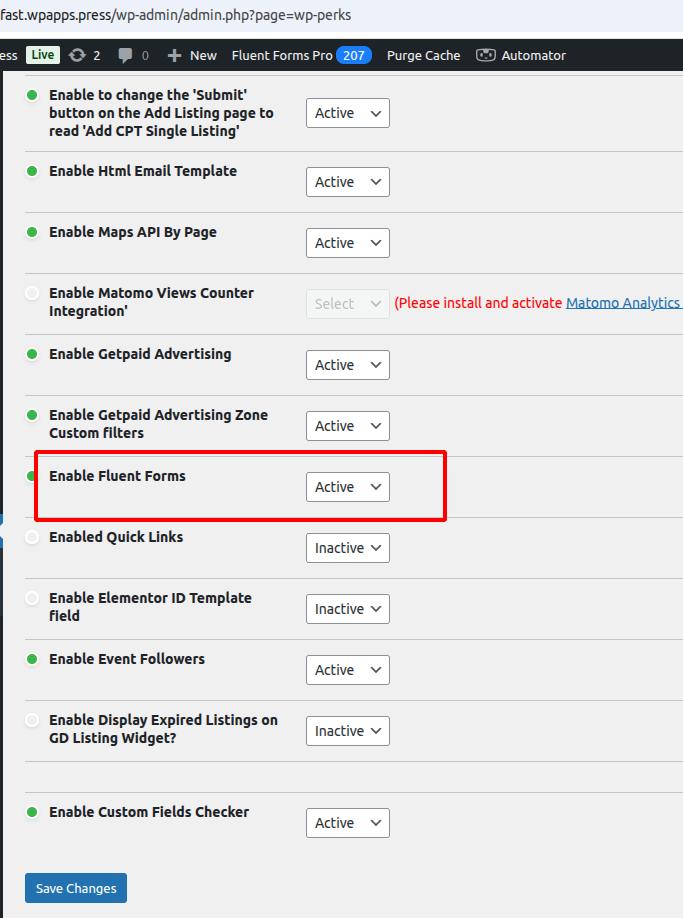
4. Enable Fluent Forms Integration
- Open your WordPress Dashboard and navigate to wpapps → Enable Fluent Forms.
- Enable the Fluent Forms integration option, then save the settings.
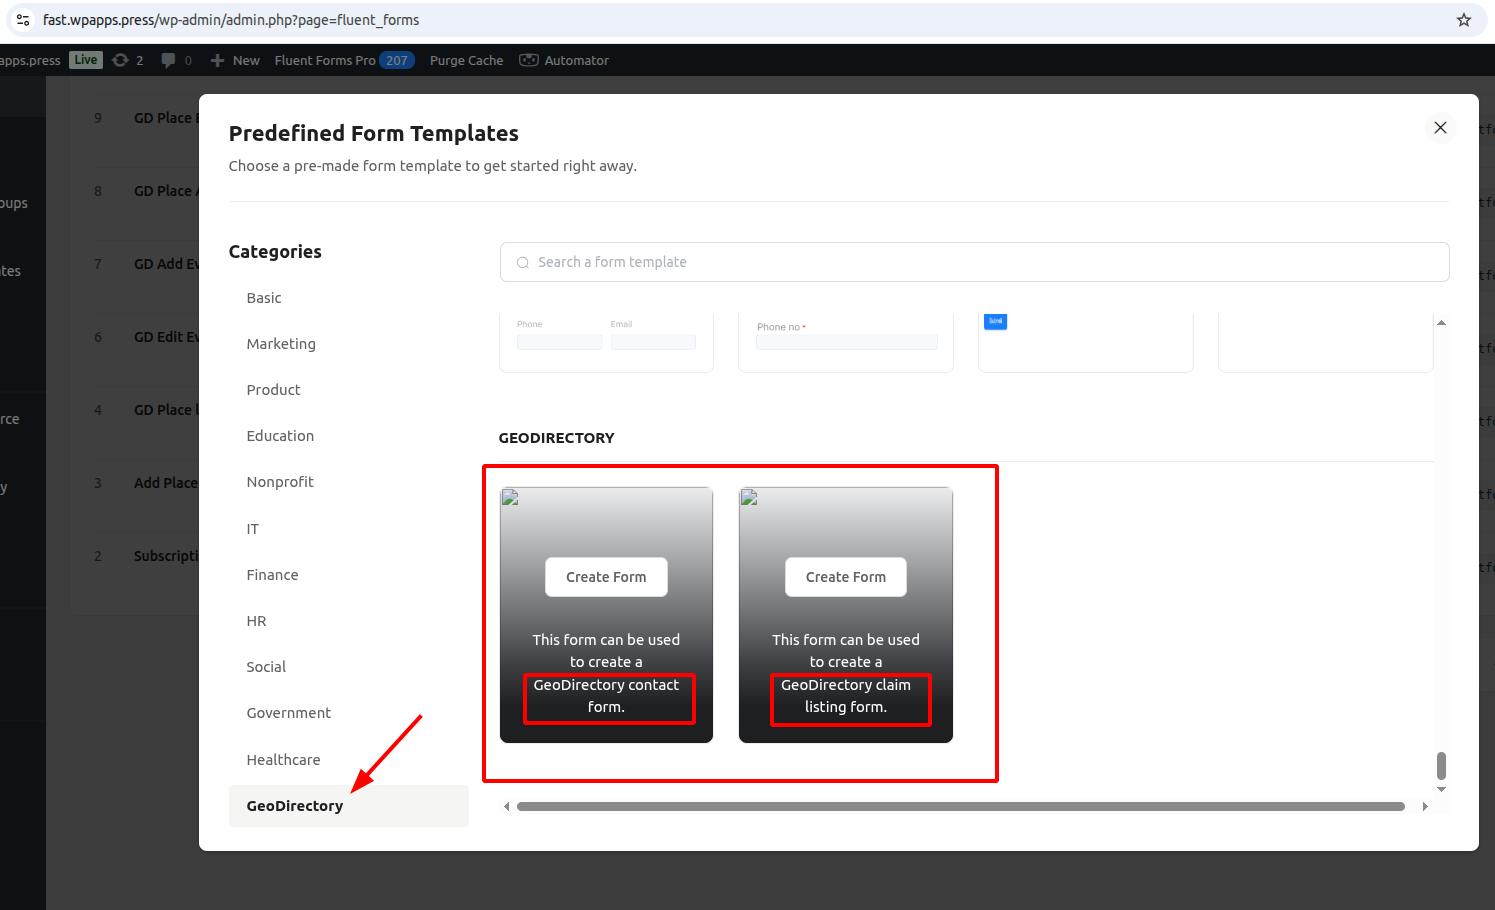
5. Fluent Forms Predefined GeoDirectory Templates
- Go to Fluent Forms → Add New Form, then click GeoDirectory under Predefined Form Templates.
- You will see several GeoDirectory templates such as GD Contact Form, GD Claim Listing Form, and GD Add Listing Form.
- Choose the template you want to use to begin.
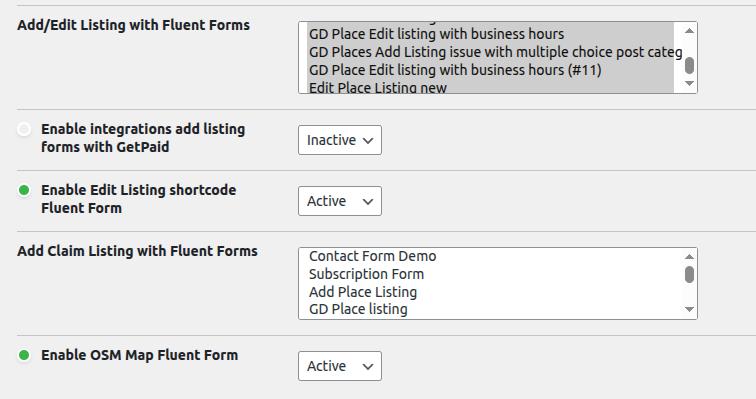
6. GeoDirectory Integration Settings
- Open wpapps → GeoDirectory → GD Options.
- Configure the available Fluent Forms integration settings, including listing data mapping, frontend form handling, and email routing via GeoDirectory fields.
- Save the settings once configuration is complete.
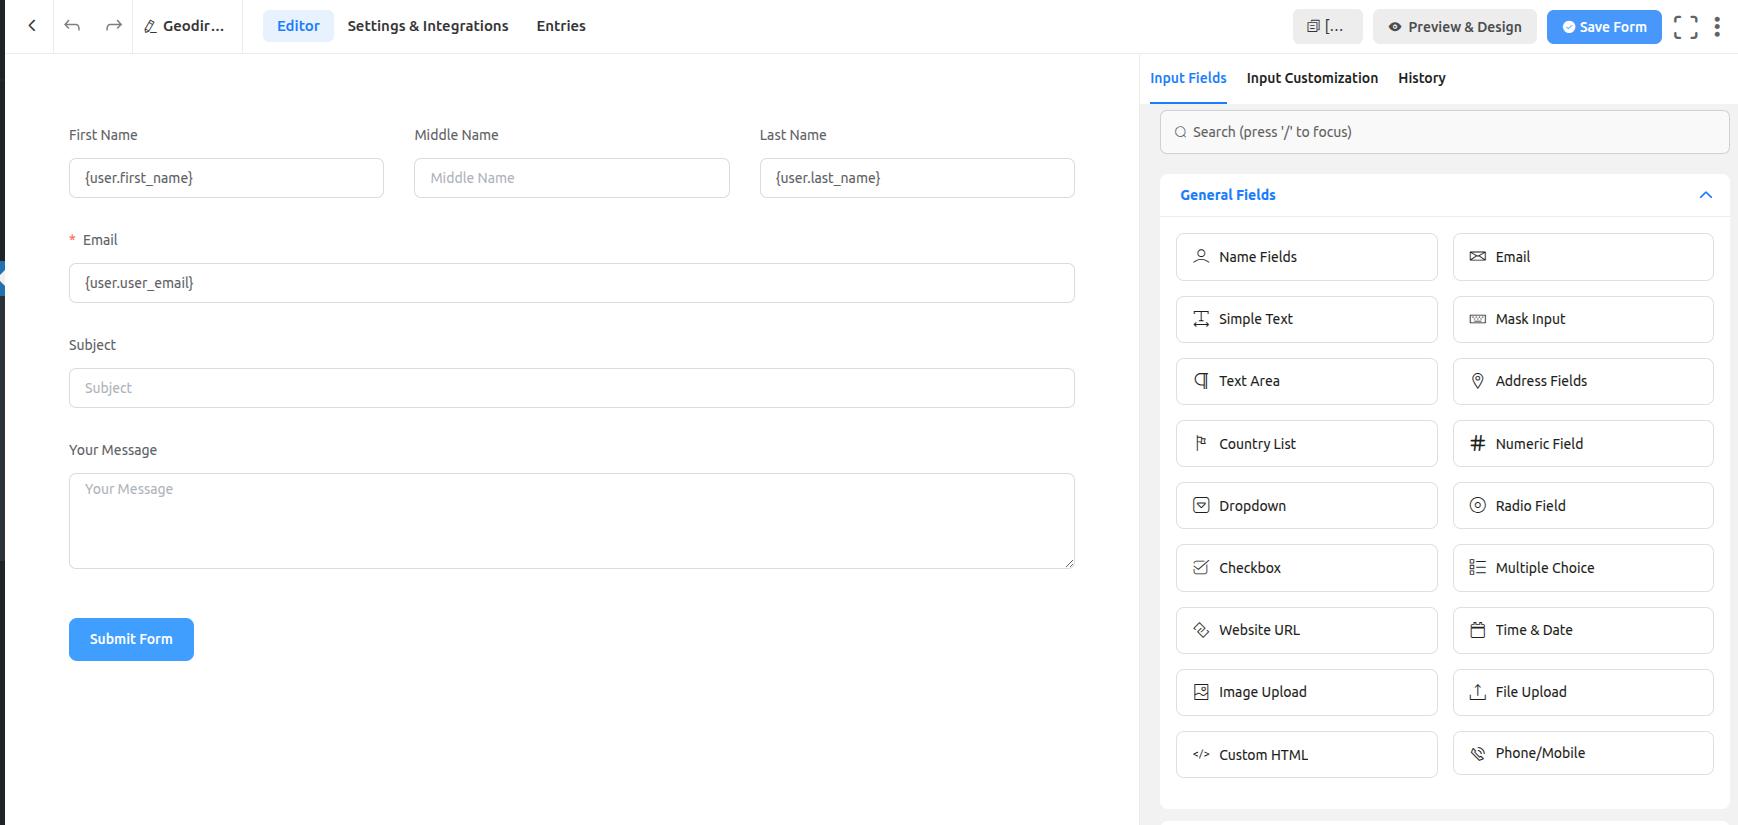
7. Predefined Template for GD Contact Form
- Backend Configuration
Open Fluent Forms → Forms → GD Contact Form.
Review the default fields such as Name, Email, Message, and Listing information.
Add or adjust fields as needed, and ensure the Email field is present and properly mapped.
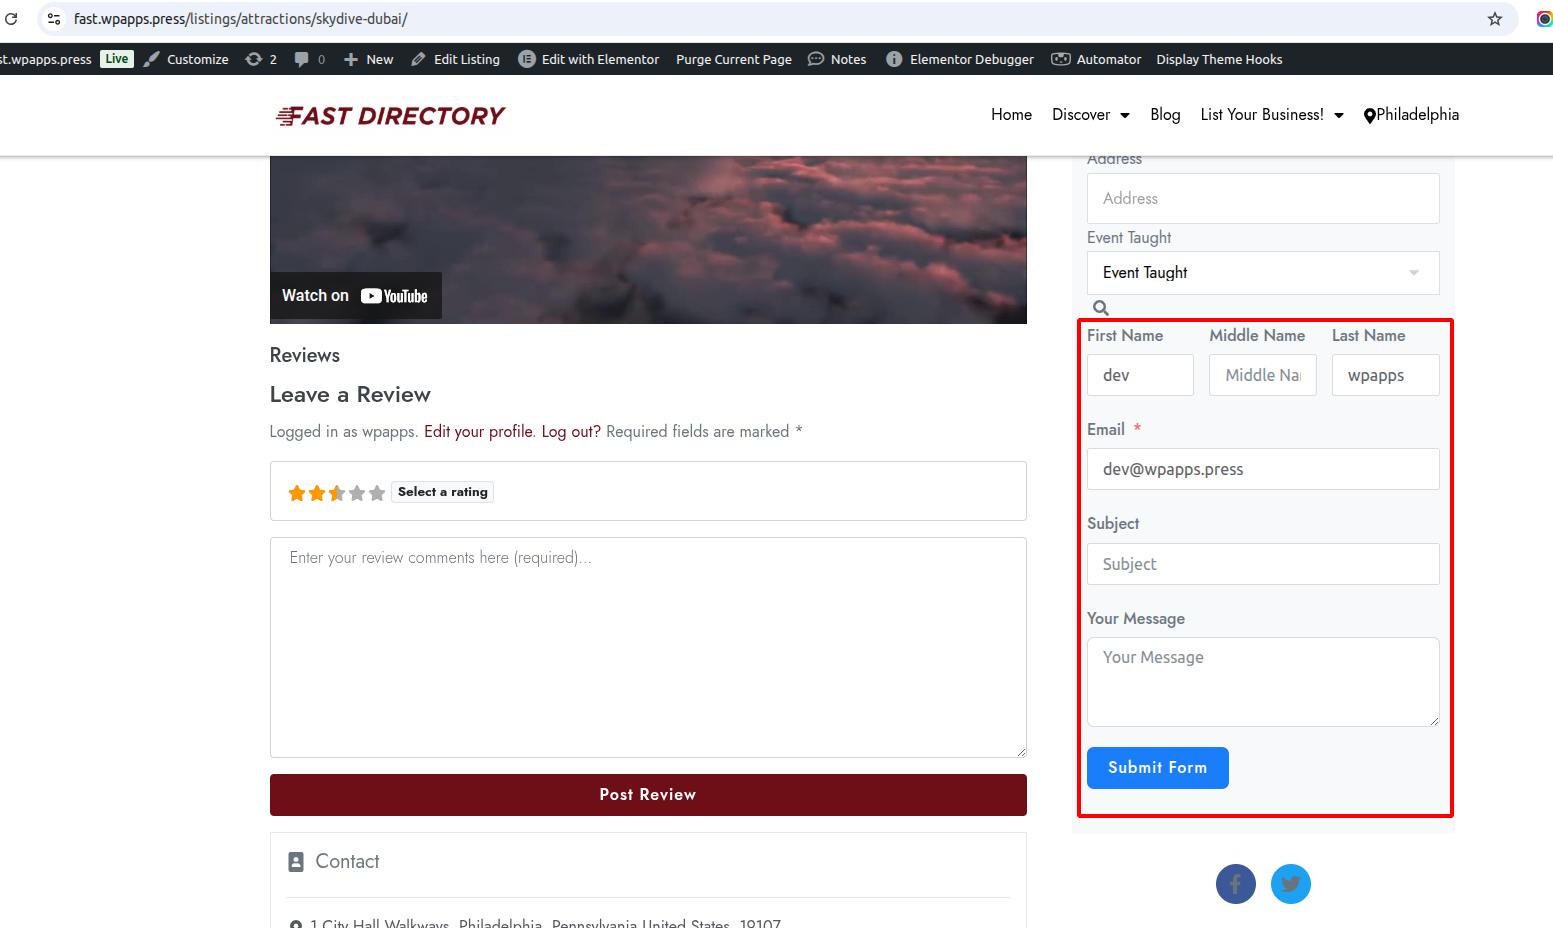
- Frontend Display
Edit the Listing Details Page using your page editor.
Add a Fluent Forms block or shortcode and insert the GD Contact Form shortcode.
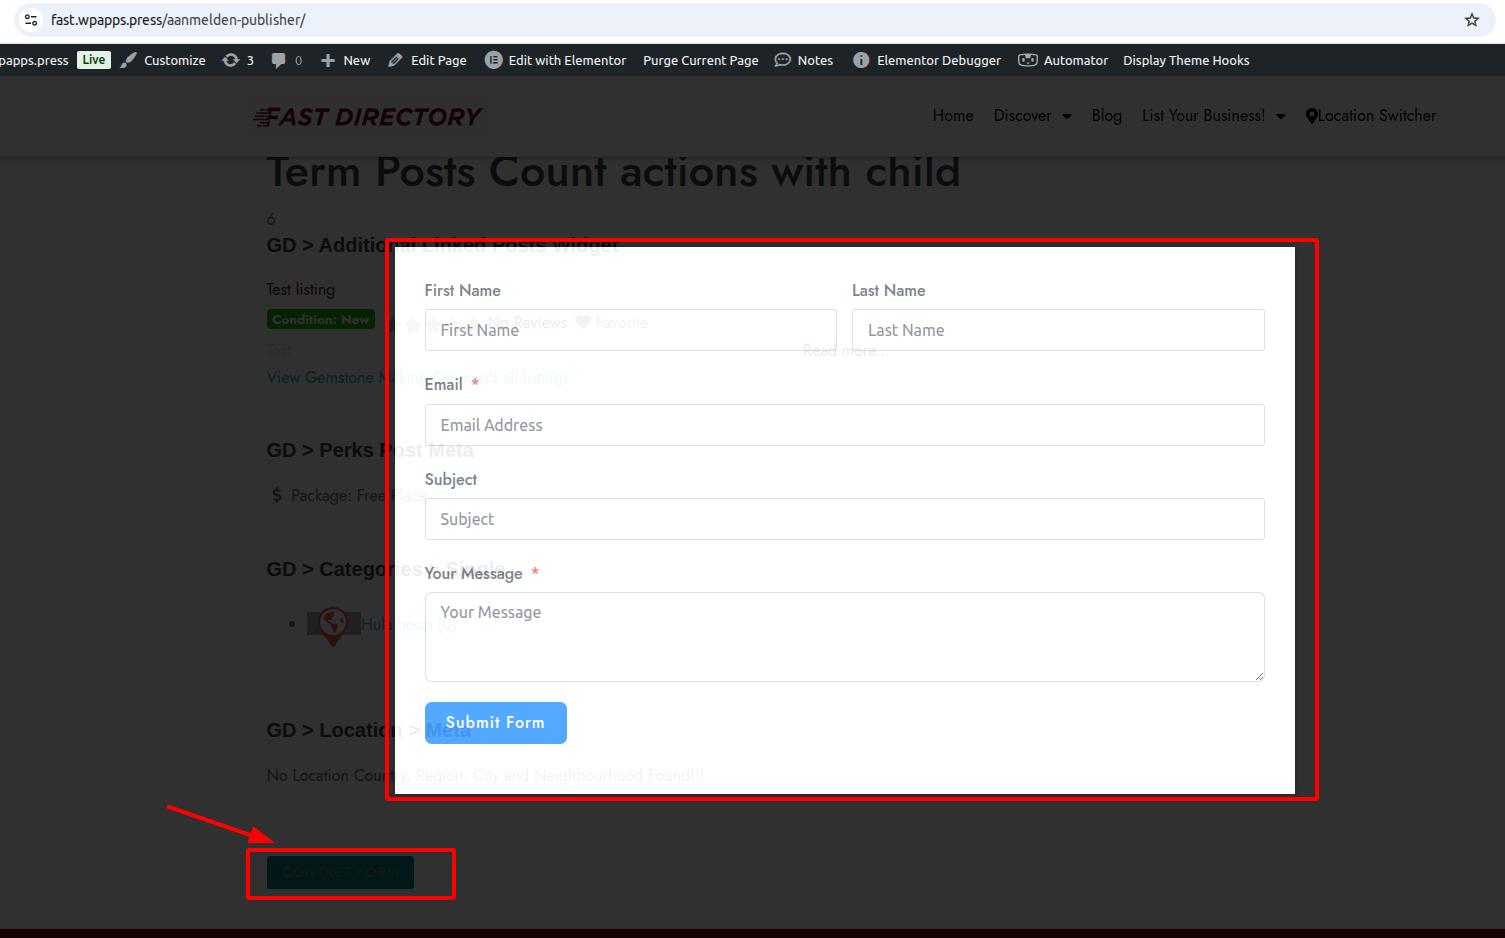
This page must contain a listing email custom field for the form to work correctly. - Frontend Result
A contact form is displayed directly on the single listing page, allowing visitors to contact the listing owner.
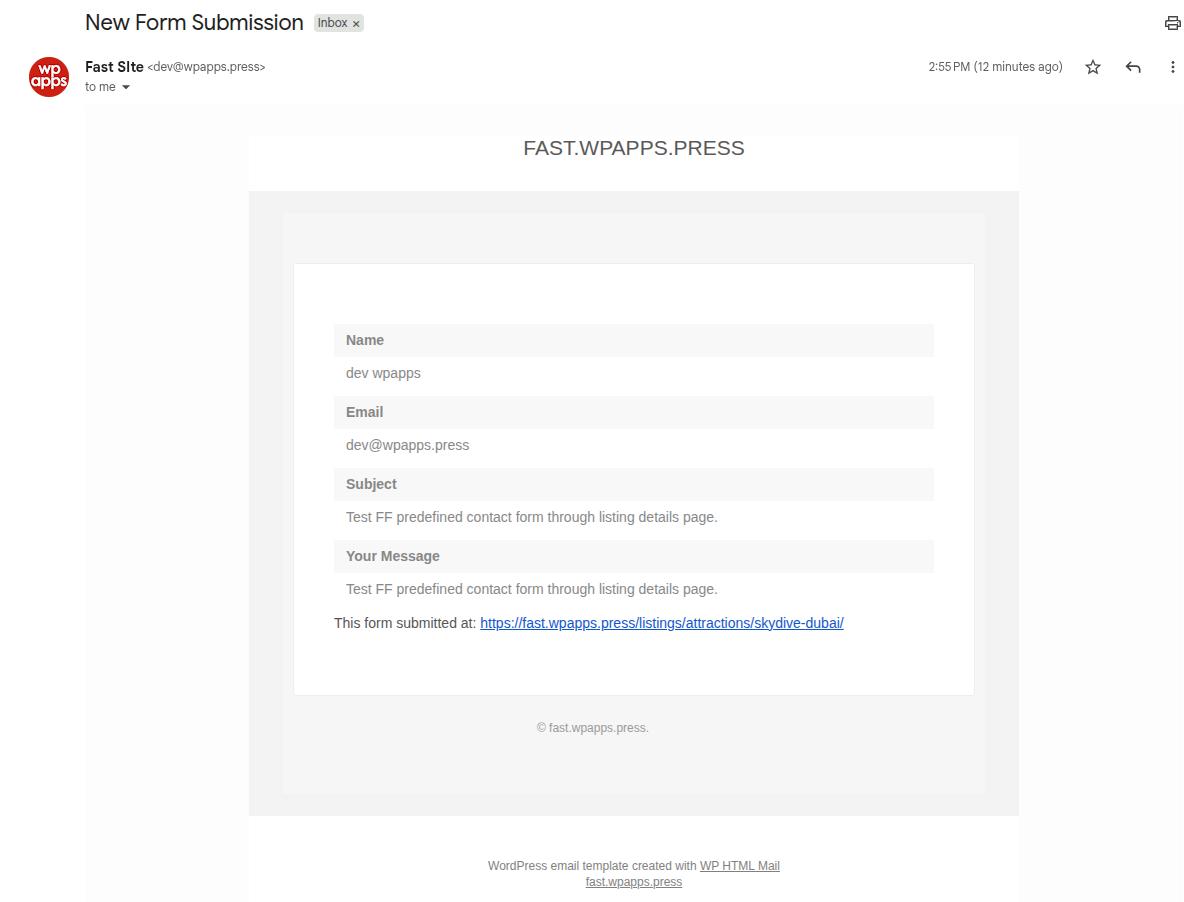
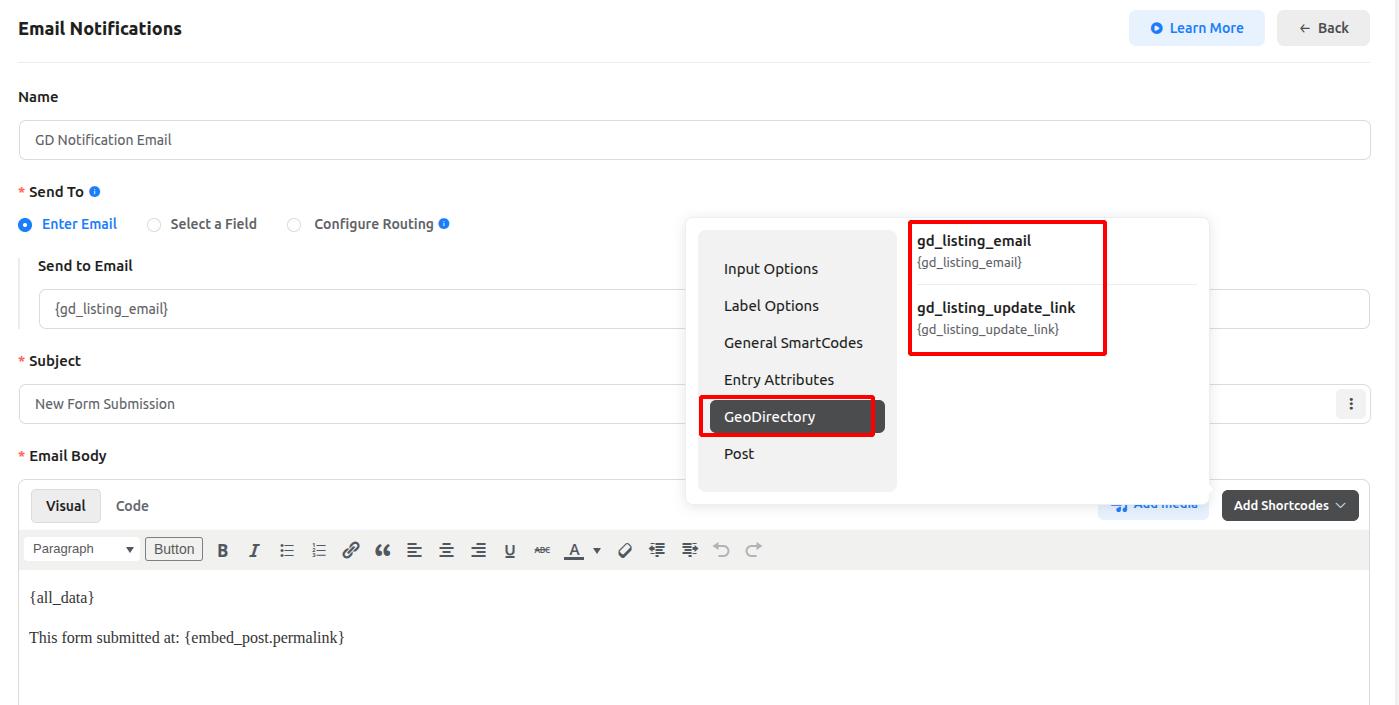
- Email Notification
In the GD Contact Form settings, open Email Notifications.
Enable notifications for the admin and/or listing owner, then save the changes.
8. Predefined Template for GD Claim Listing Form
- Backend Configuration
Create a new form from Fluent Forms → Add New Form → GeoDirectory → GD Claim Listing Form.
Review the claim-related fields and adjust them if necessary, then save the form.

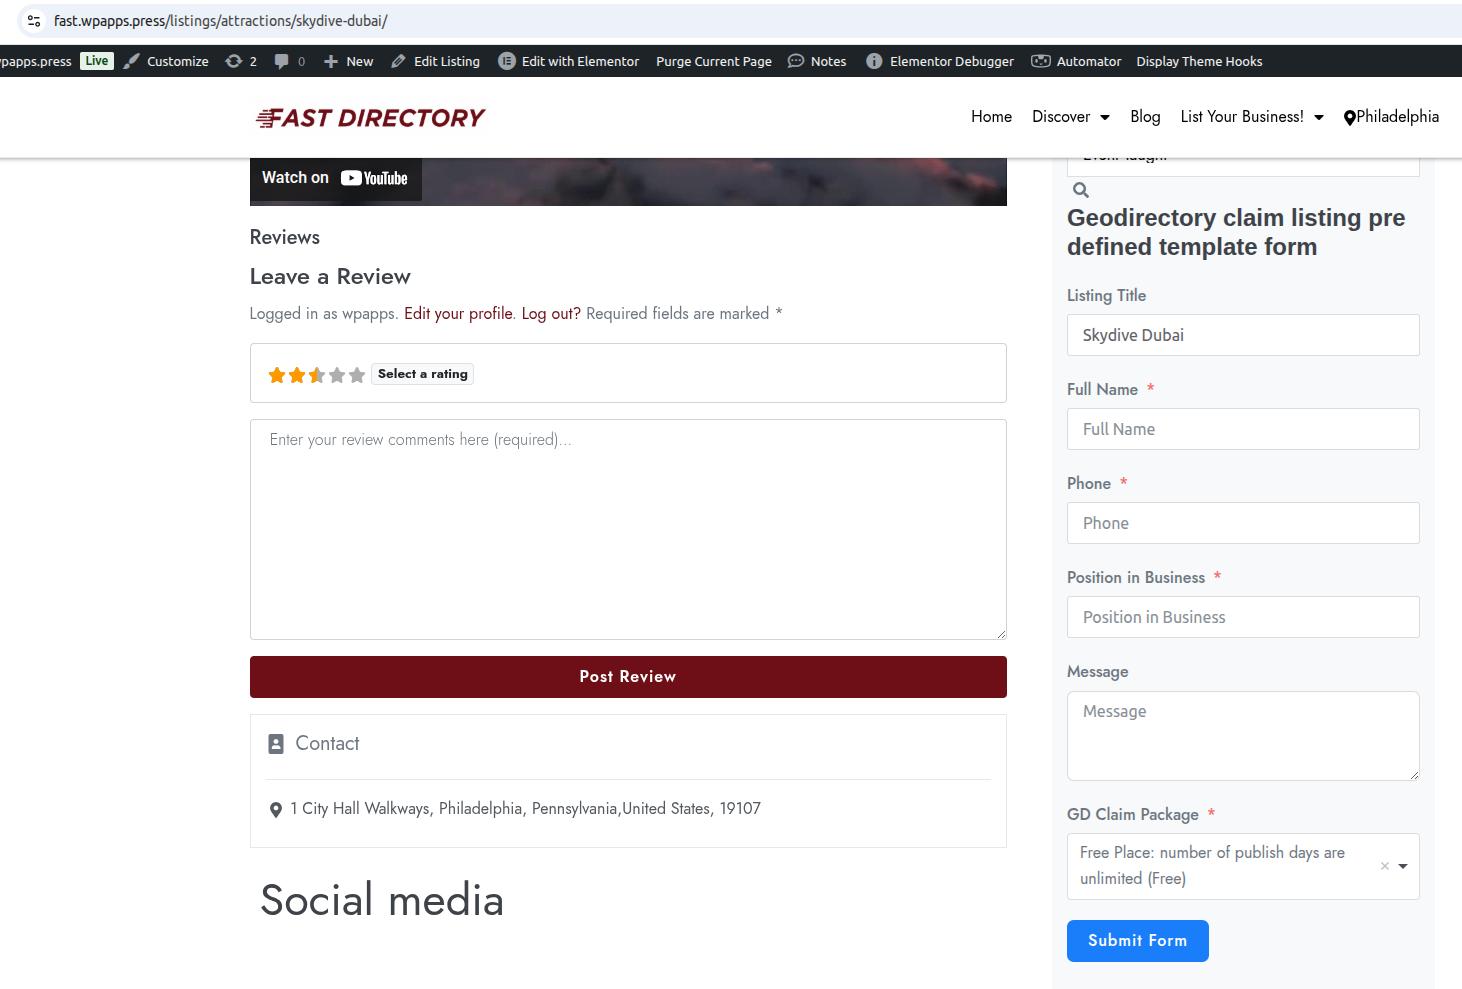
- Frontend Display
Insert the GD Claim Listing Form shortcode into the Listing Details Page. - Frontend Result
A “Claim This Listing” form appears on the listing page for ownership requests.
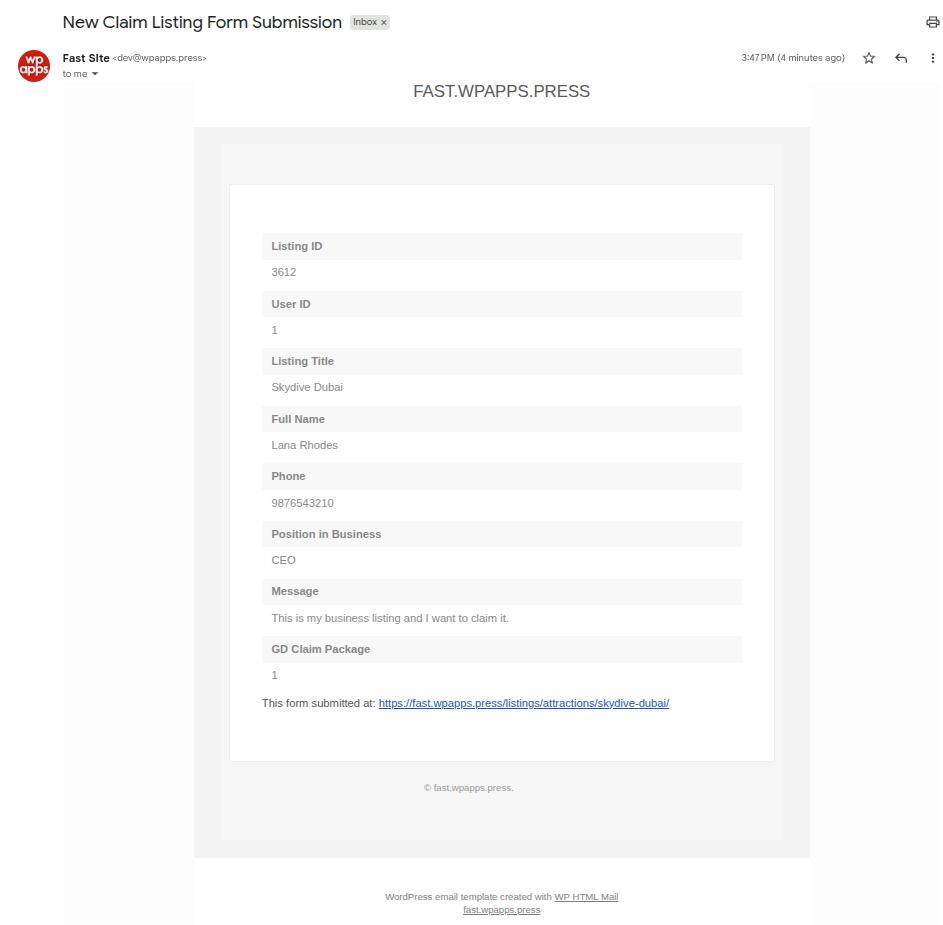
- Email Notification
Enable email notifications for new claim submissions and include listing and user details in the email content.
9. Fluent Forms GeoDirectory Smartcodes
- When configuring email notifications in Fluent Forms, you can use GeoDirectory smartcodes such as
gd_listing_emailandgd_listing_update_link. - These smartcodes automatically pull listing-specific data into notification emails.
10. wpapps → GD Fluent Forms Widget
- Add the GD Fluent Forms widget from wpapps to your page. In the widget settings, insert the shortcode
wpapps_gd_fluent_forms.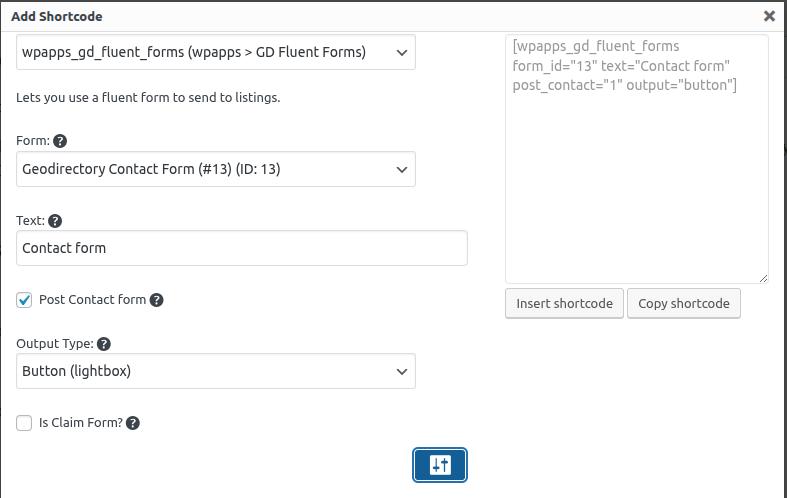
- The widget supports multiple output styles:
Button popup view
Link view
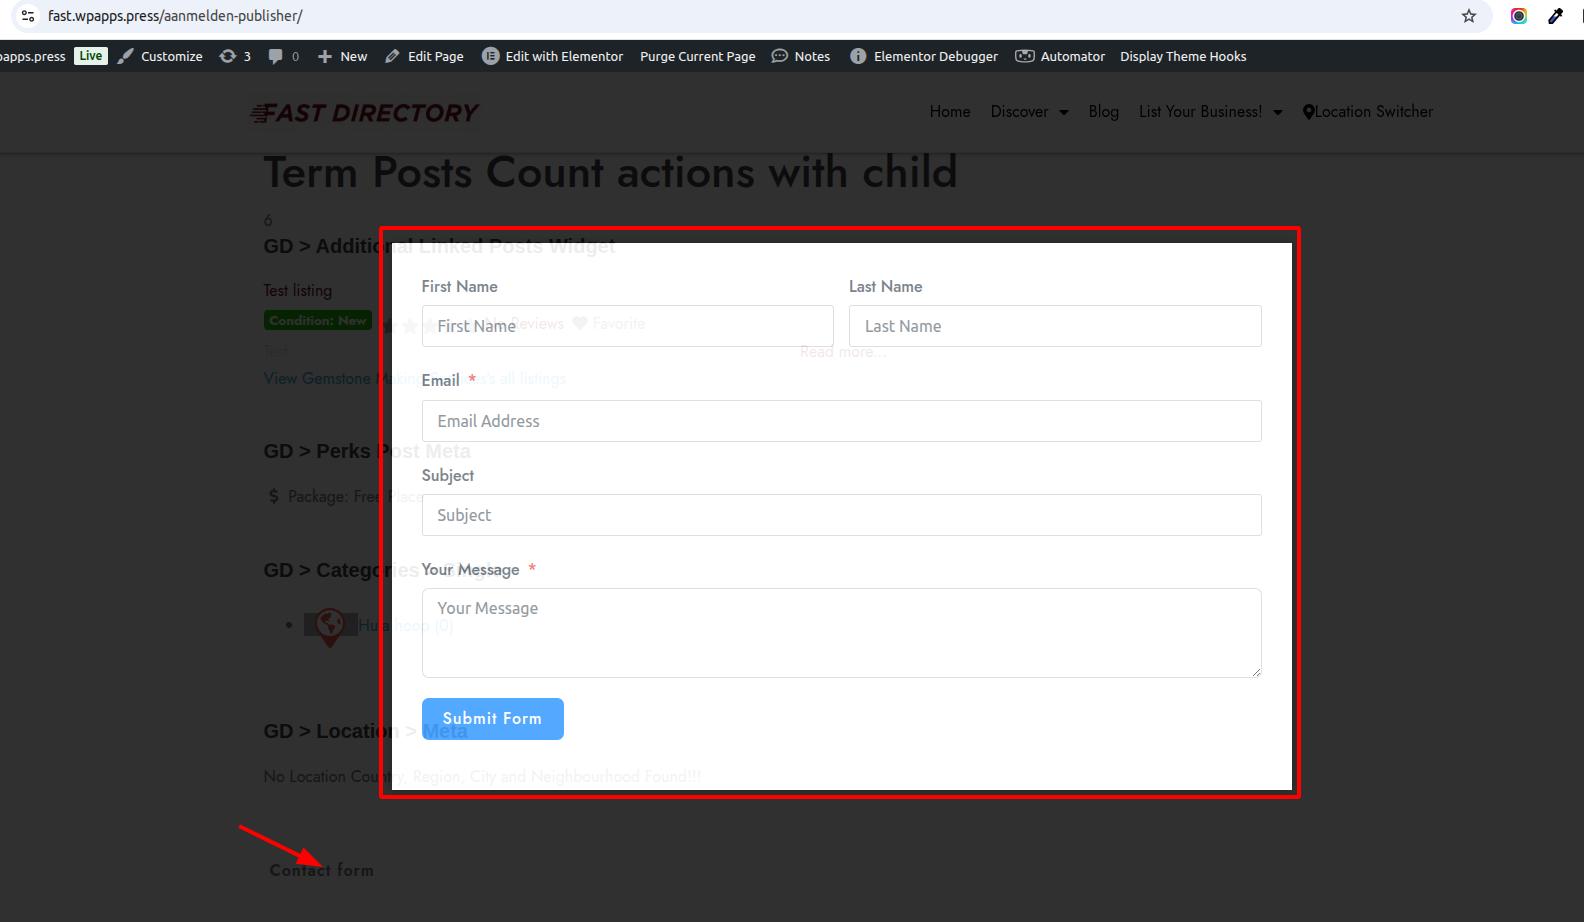
Inline form view

- Each option controls how the Fluent Form appears on the frontend.
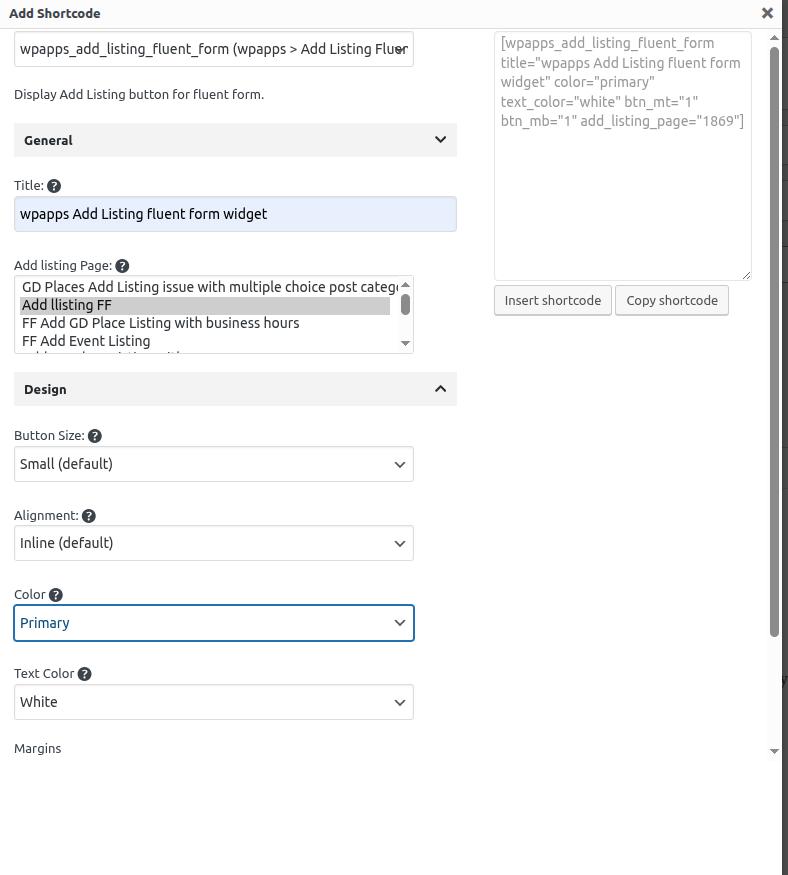
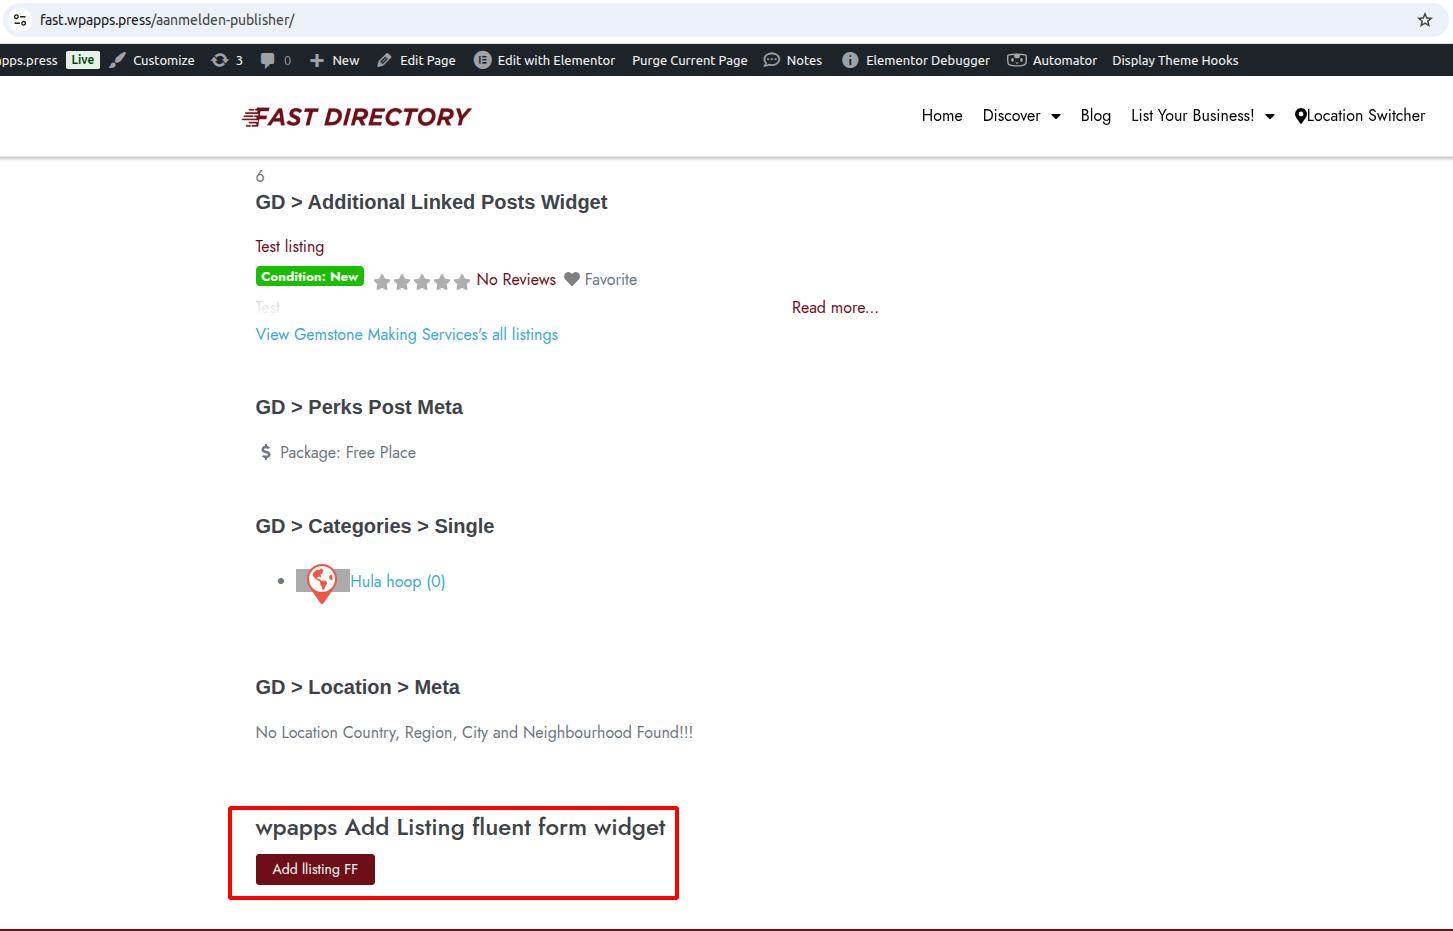
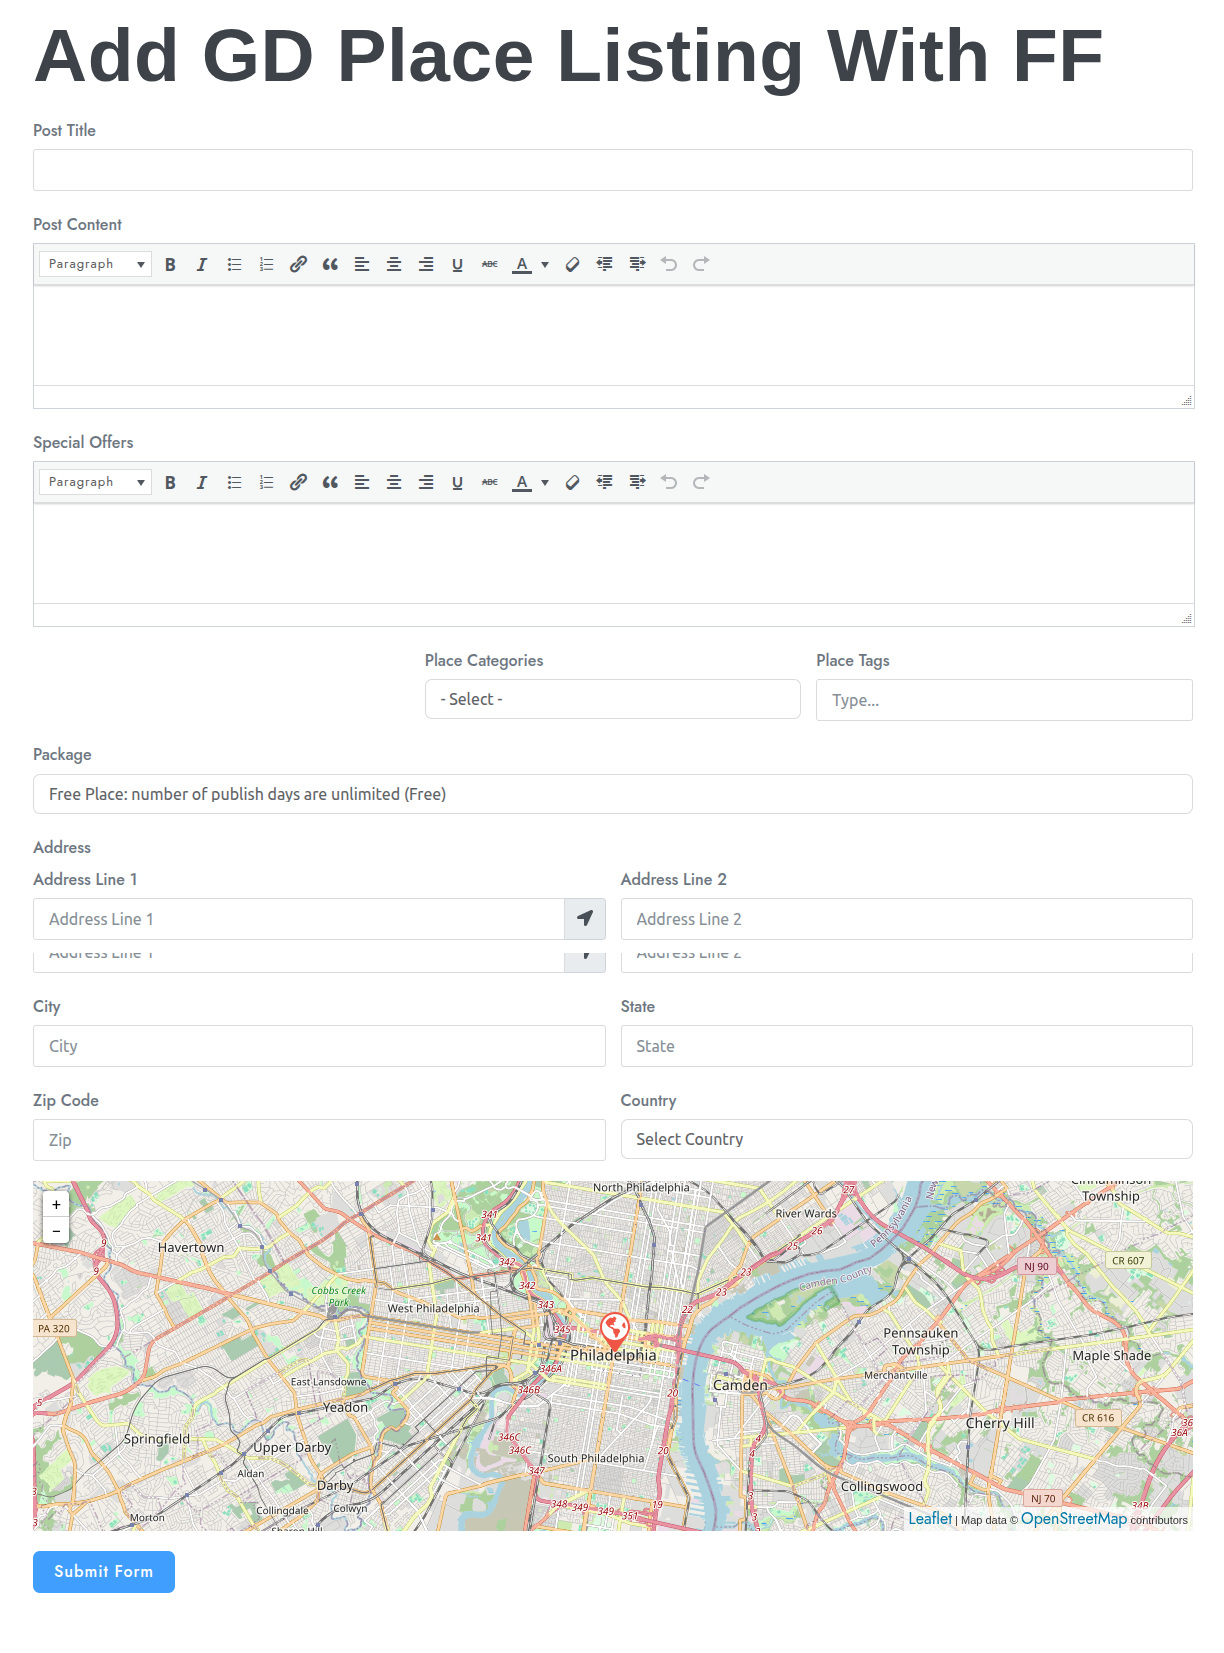
11. wpapps → Add Listing Fluent Form Widget
- Add the Add Listing Fluent Form widget to the desired page. Insert the Add Listing Fluent Form shortcode provided by wpapps.
- Frontend Result
Users can submit new listings directly from the frontend using Fluent Forms.
12. wpapps → Edit Listing Fluent Form Widget
- This widget must be added to the Listing Details Page.
- Insert the Edit Listing Fluent Form shortcode in the widget settings.
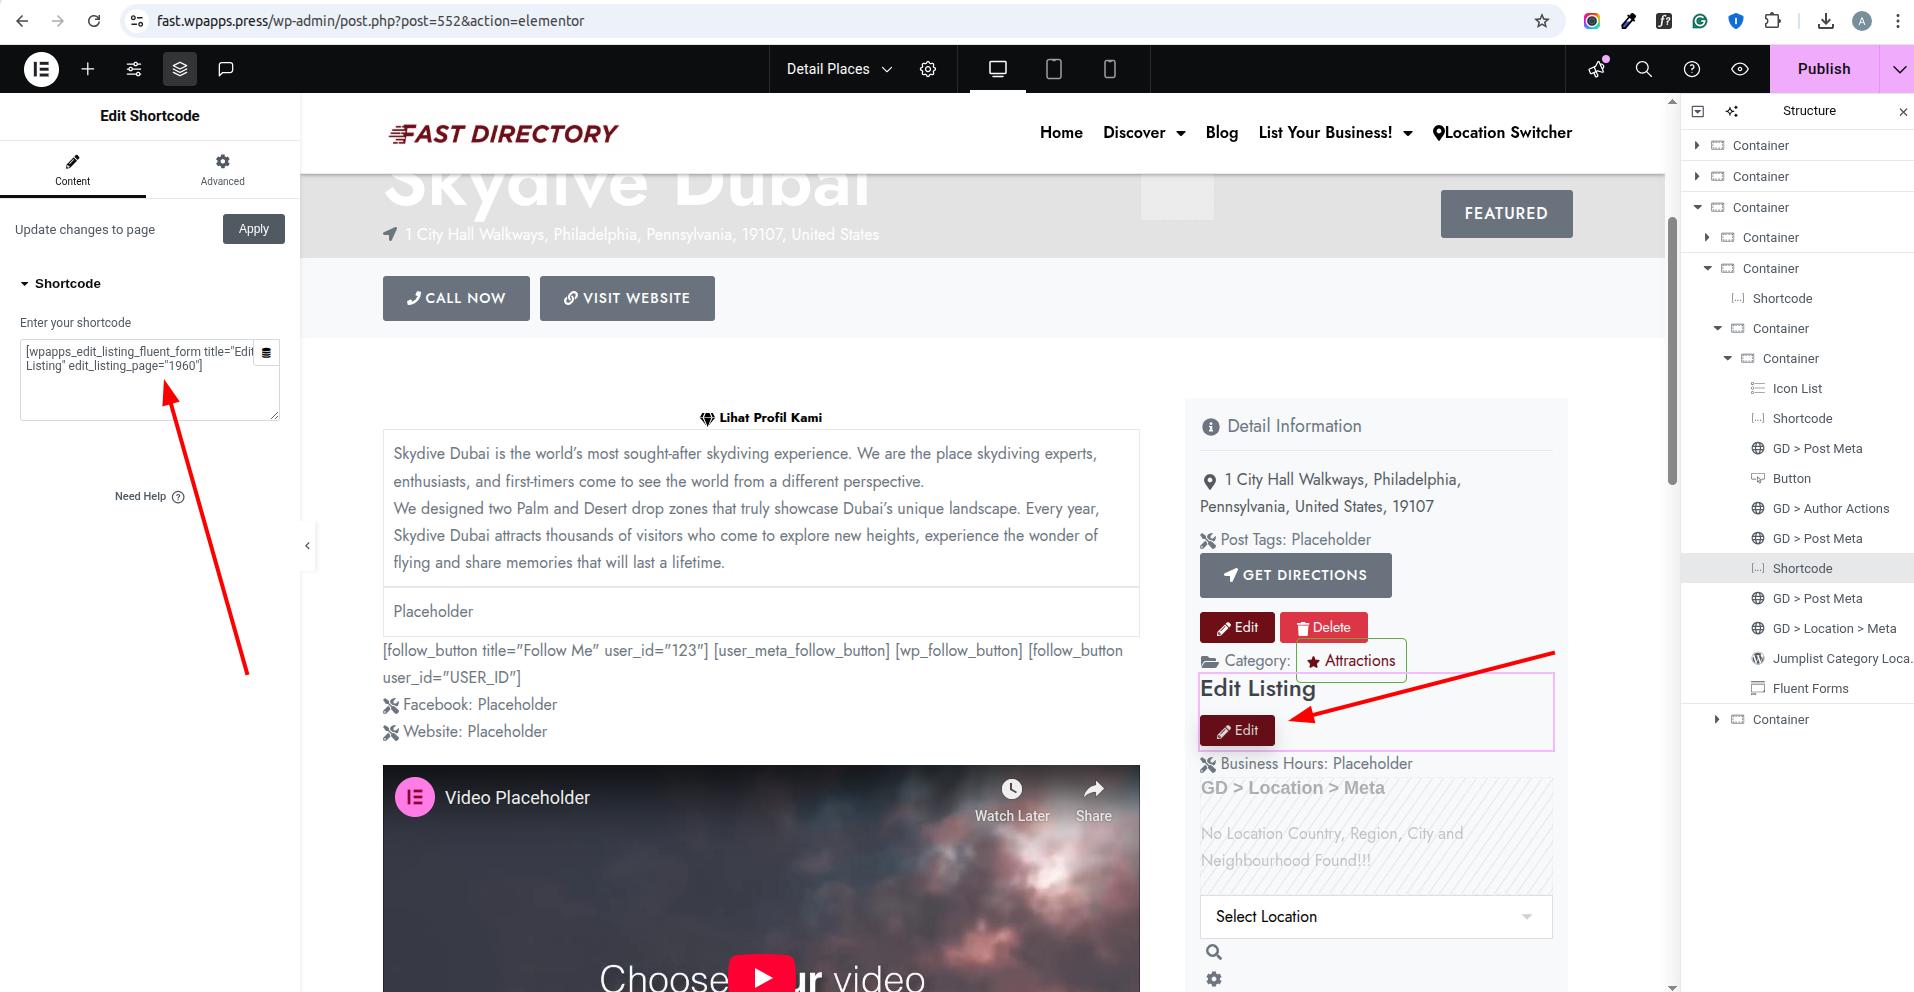
- Frontend Result
An Edit Listing button is shown only to the listing owner, allowing frontend editing.
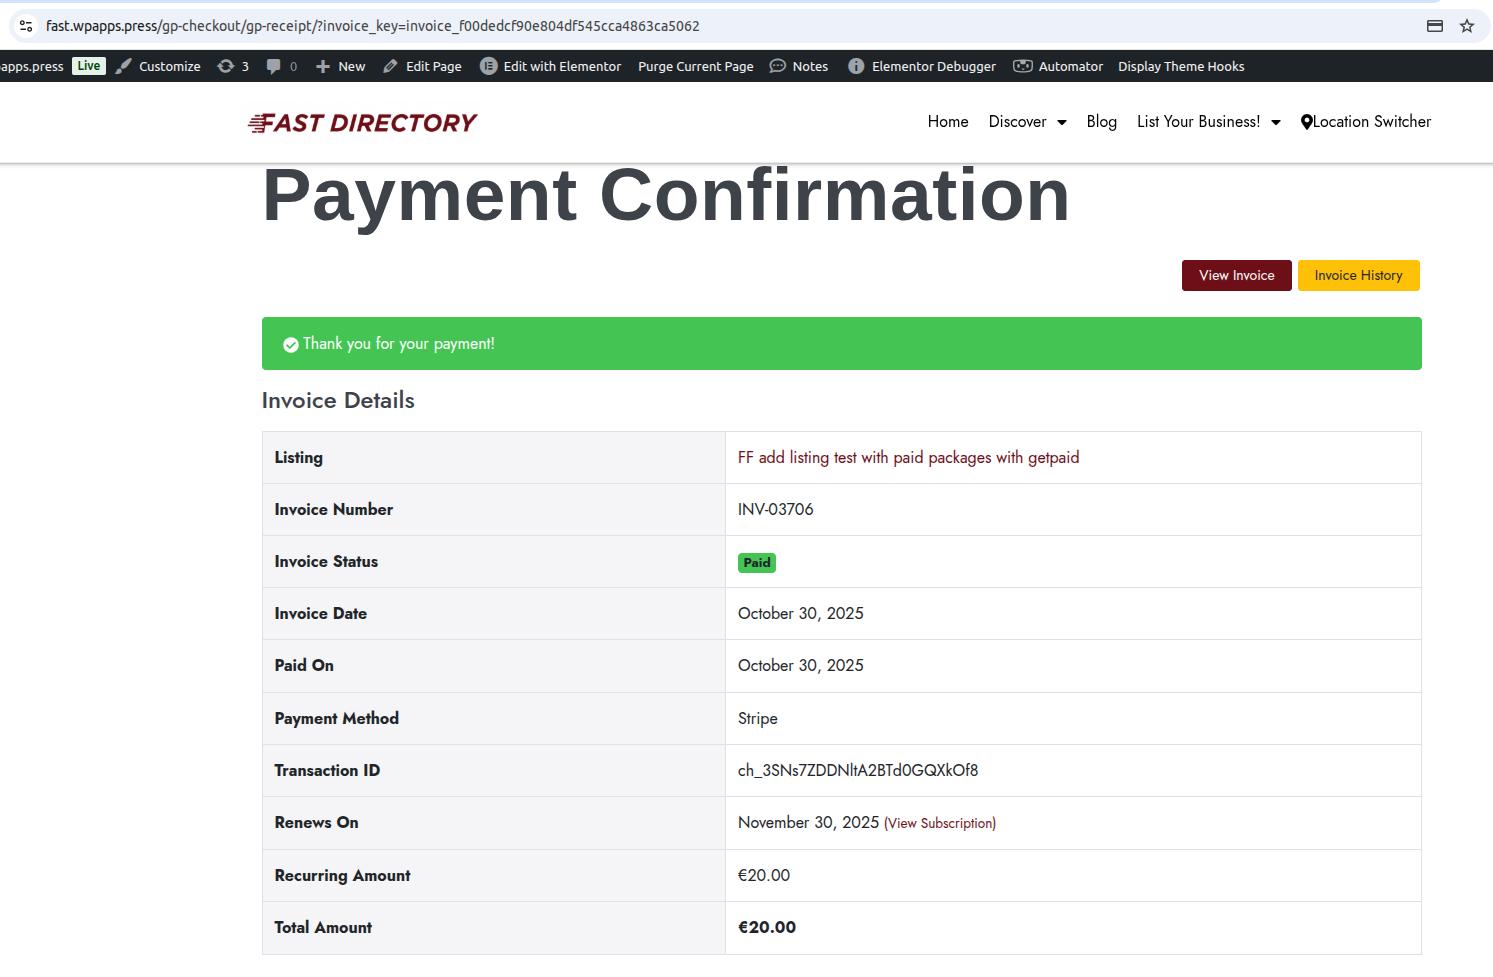
13. Add Listing Using Fluent Form
- When using WooCommerce, users are redirected to checkout after selecting a paid package, and the listing is created once payment is completed.
- When using GetPaid, users are redirected to the GetPaid checkout flow, and the listing is published after successful payment.
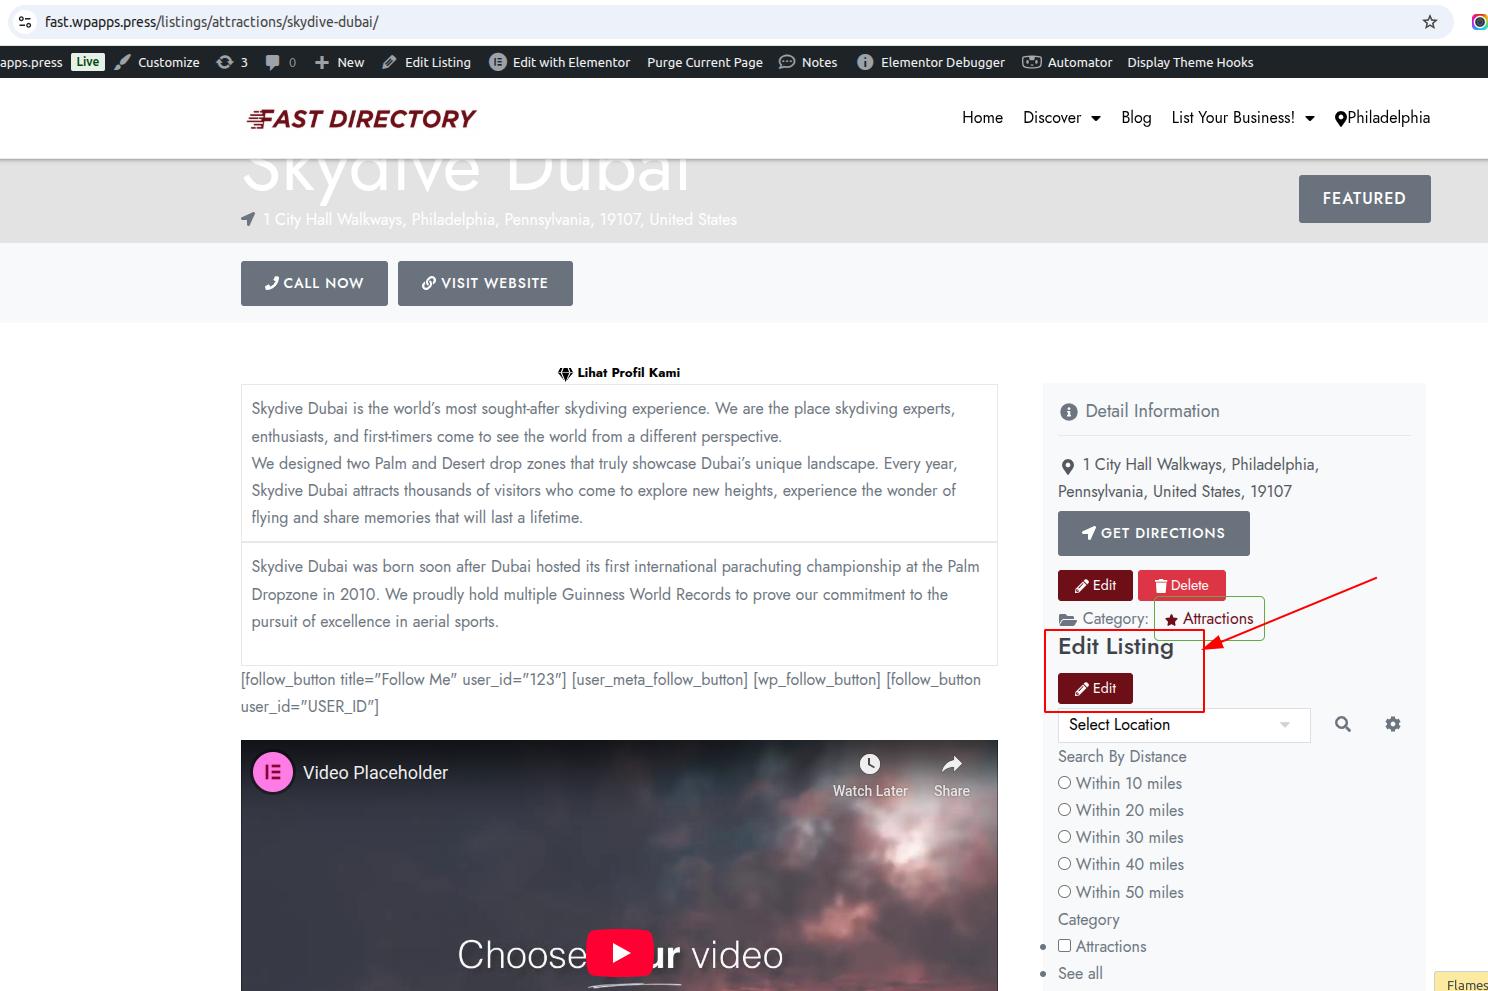
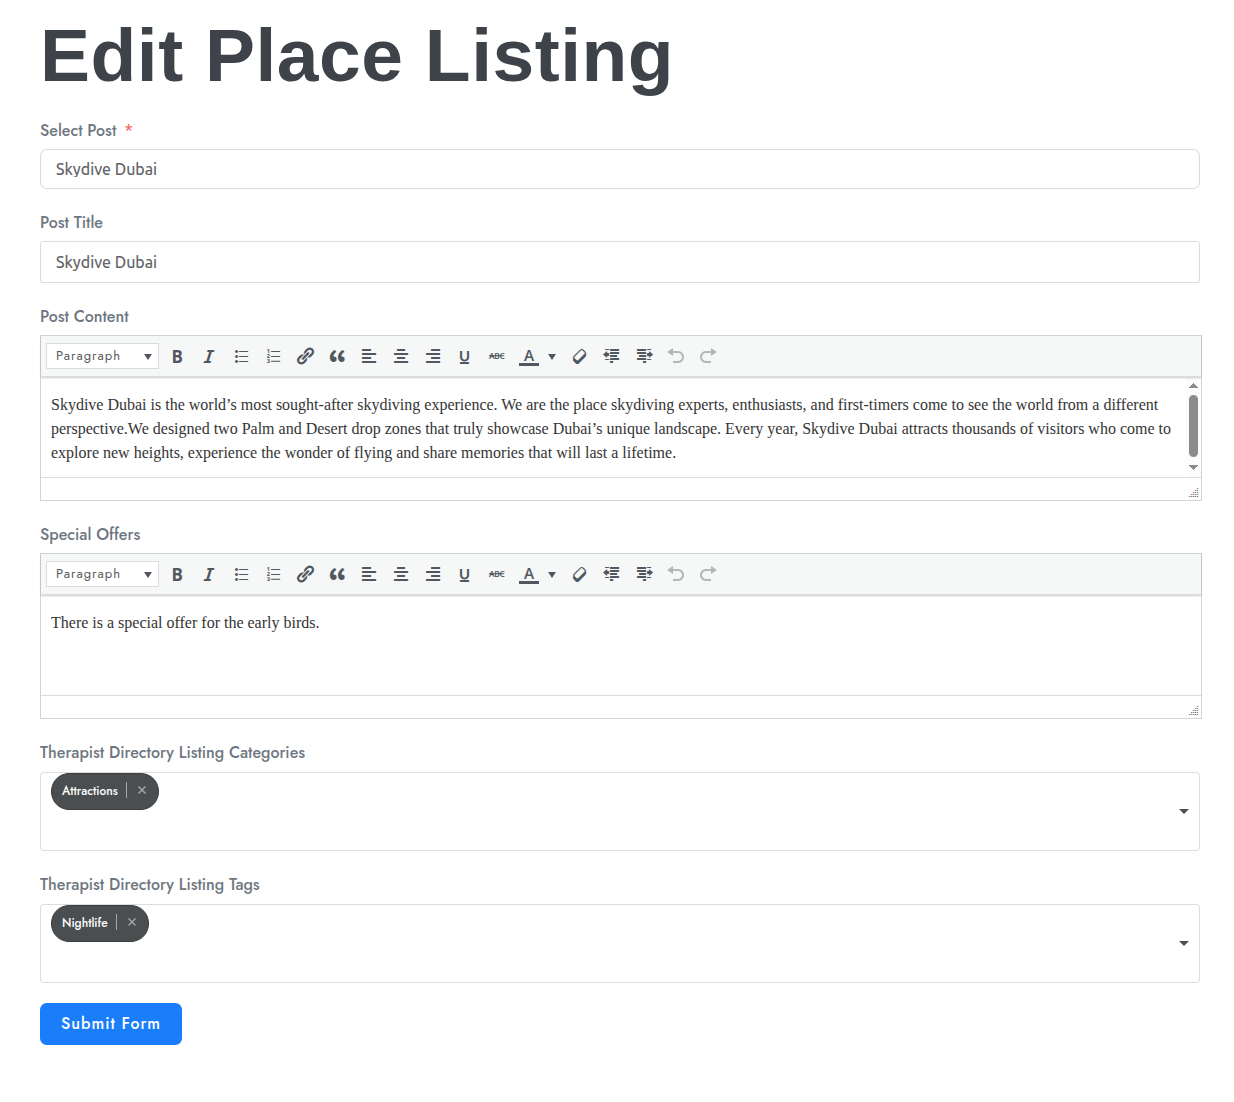
14. Edit Listing Using Fluent Form
- Listing owners can click the Edit Listing button on the listing details page. The Fluent Form opens with pre-filled listing data, allowing updates without accessing wp-admin.
Summary :
The GeoDirectory Options – Fluent Forms Integration feature connects Fluent Forms with GeoDirectory, allowing key listing actions—such as contacting owners, claiming listings, adding listings, and editing listings—to be handled directly from the frontend. Forms are dynamically linked to listing data, including emails, ownership info, and update links, ensuring accurate communication and smooth user interaction.
With wpapps Press, wpapps GeoDirectory Options, and Fluent Forms enabled, administrators can use predefined GeoDirectory form templates, configure data mapping, and apply GeoDirectory smartcodes for email notifications. Dedicated widgets support multiple display styles (button popup, link, or inline), making forms easy to place anywhere on the site.
This setup streamlines listing management, reduces reliance on the WordPress dashboard, supports payment flows (WooCommerce or GetPaid), and delivers a more flexible, user-friendly experience for both site owners and listing submitters.
Subscribe and set up the addon now: GeoDirectory Options
