

The Blockstrap Page Builder Blocks and Theme offers a complete solution for building and customizing pages with ease. By installing the required plugin and applying the theme directly, you can create professional layouts quickly without the need for a child theme.
The toolkit comes with ready-to-use template files, including HTML and CSS, which can be imported directly into the editor. With Custom HTML blocks, these templates can be applied seamlessly, transforming your designs into fully functional block widgets in no time.
To make the process even more efficient, the Service Kit is available through the Service Page, providing block-by-block support to review, fix, and optimize your pages. Whether it’s adjusting templates, refining images, or finalizing block layouts, the Service Kit ensures your site looks polished and performs flawlessly.
You can access the full Services Kit here: Services Kit
With essential add-ons and features included, this toolkit streamlines your workflow, saves time, and helps you maintain a professional, visually consistent site effortlessly.
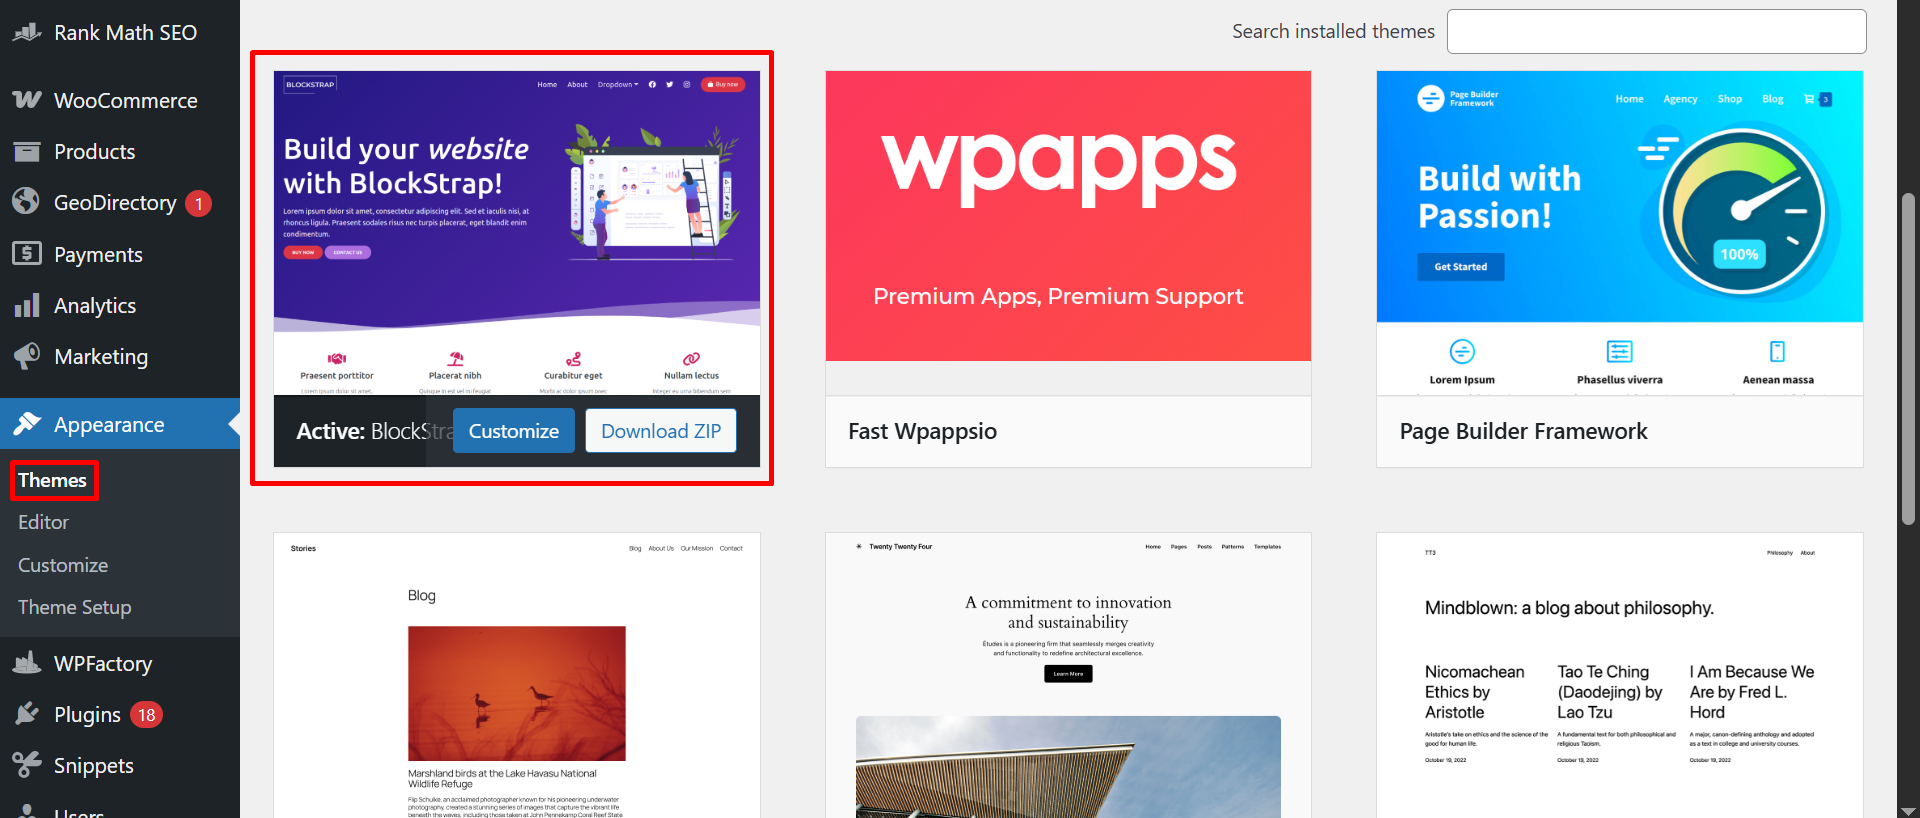
Step 1: Install Required Plugin and Theme
- Install the Blockstrap Page Builder Blocks plugin.

- After that, we will use the Blockstrap Theme directly (without a child theme).
Step 2: Prepare the Template Files
- Download the ZIP file provided.
- Extract the ZIP file first.
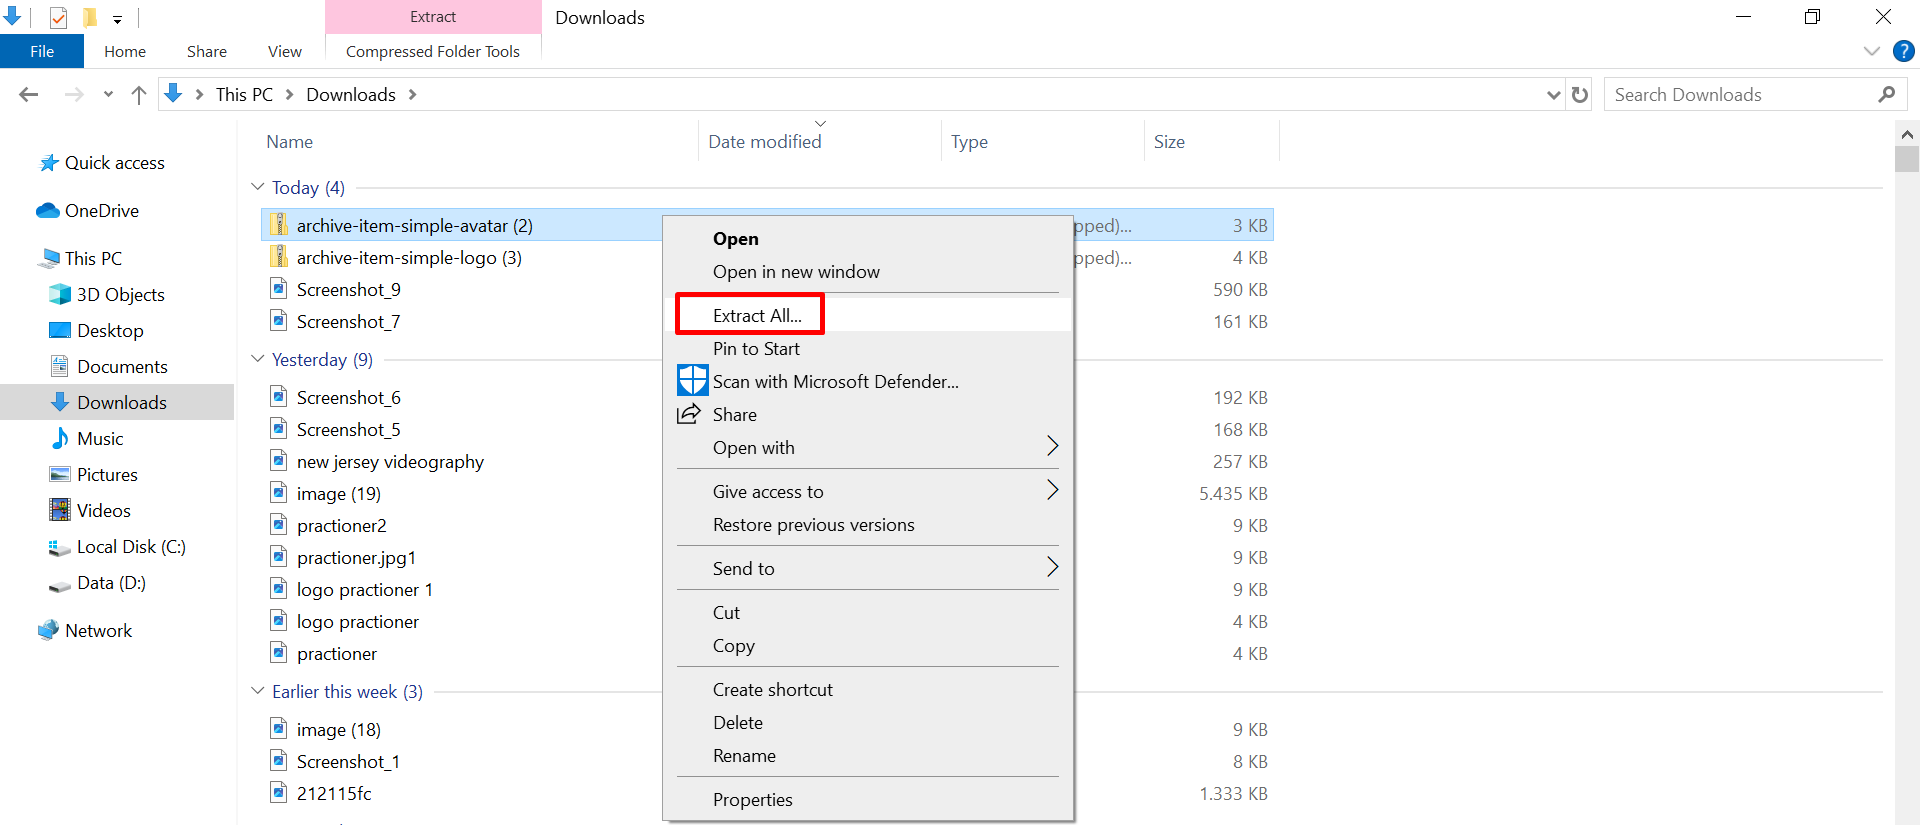
- Inside the extracted folder, you will find CSS and HTML documents.

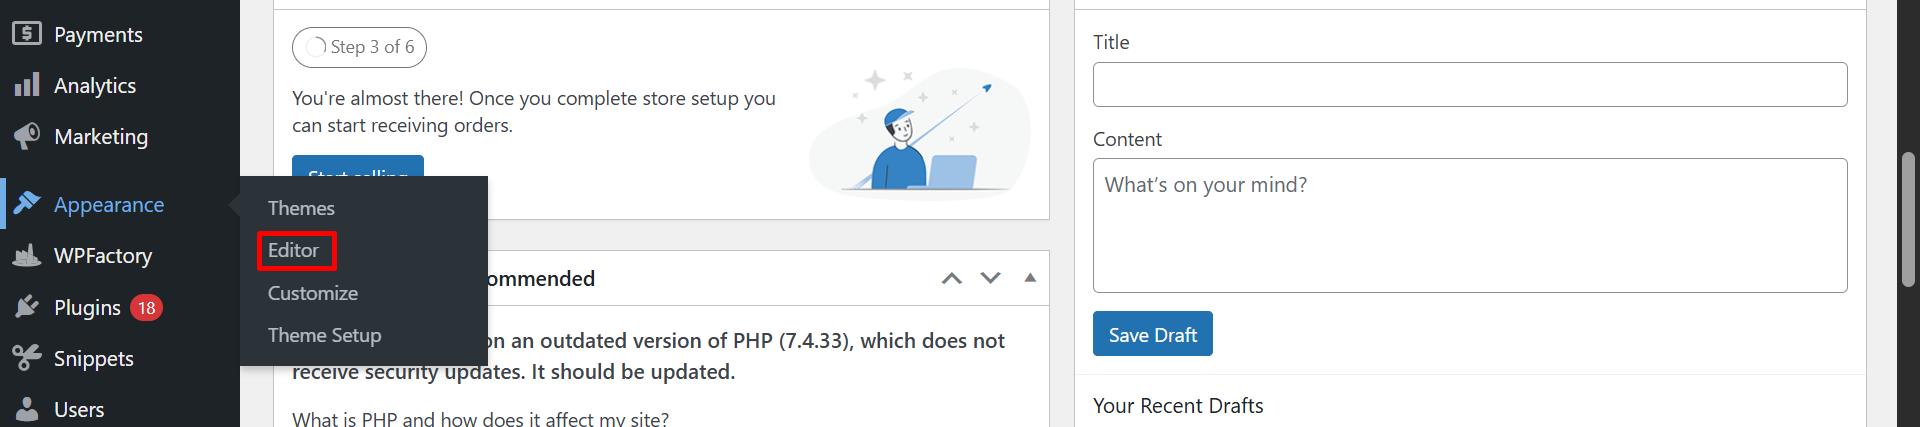
Step 3: Create a New Page Design
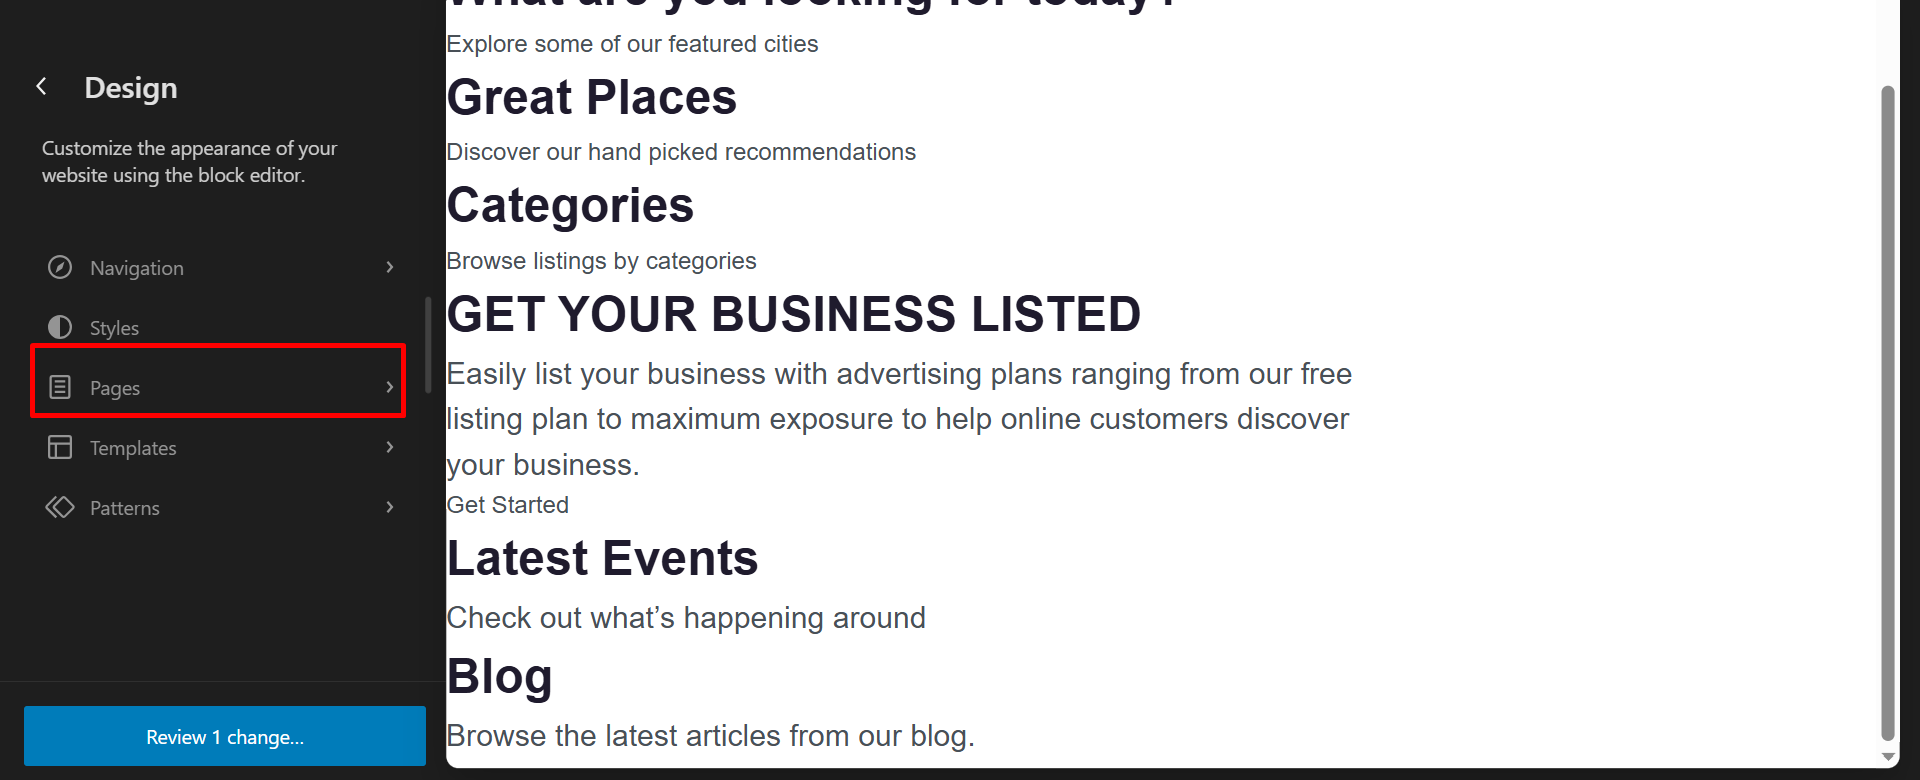
- Go to the Editor.
- Open Pages Design.
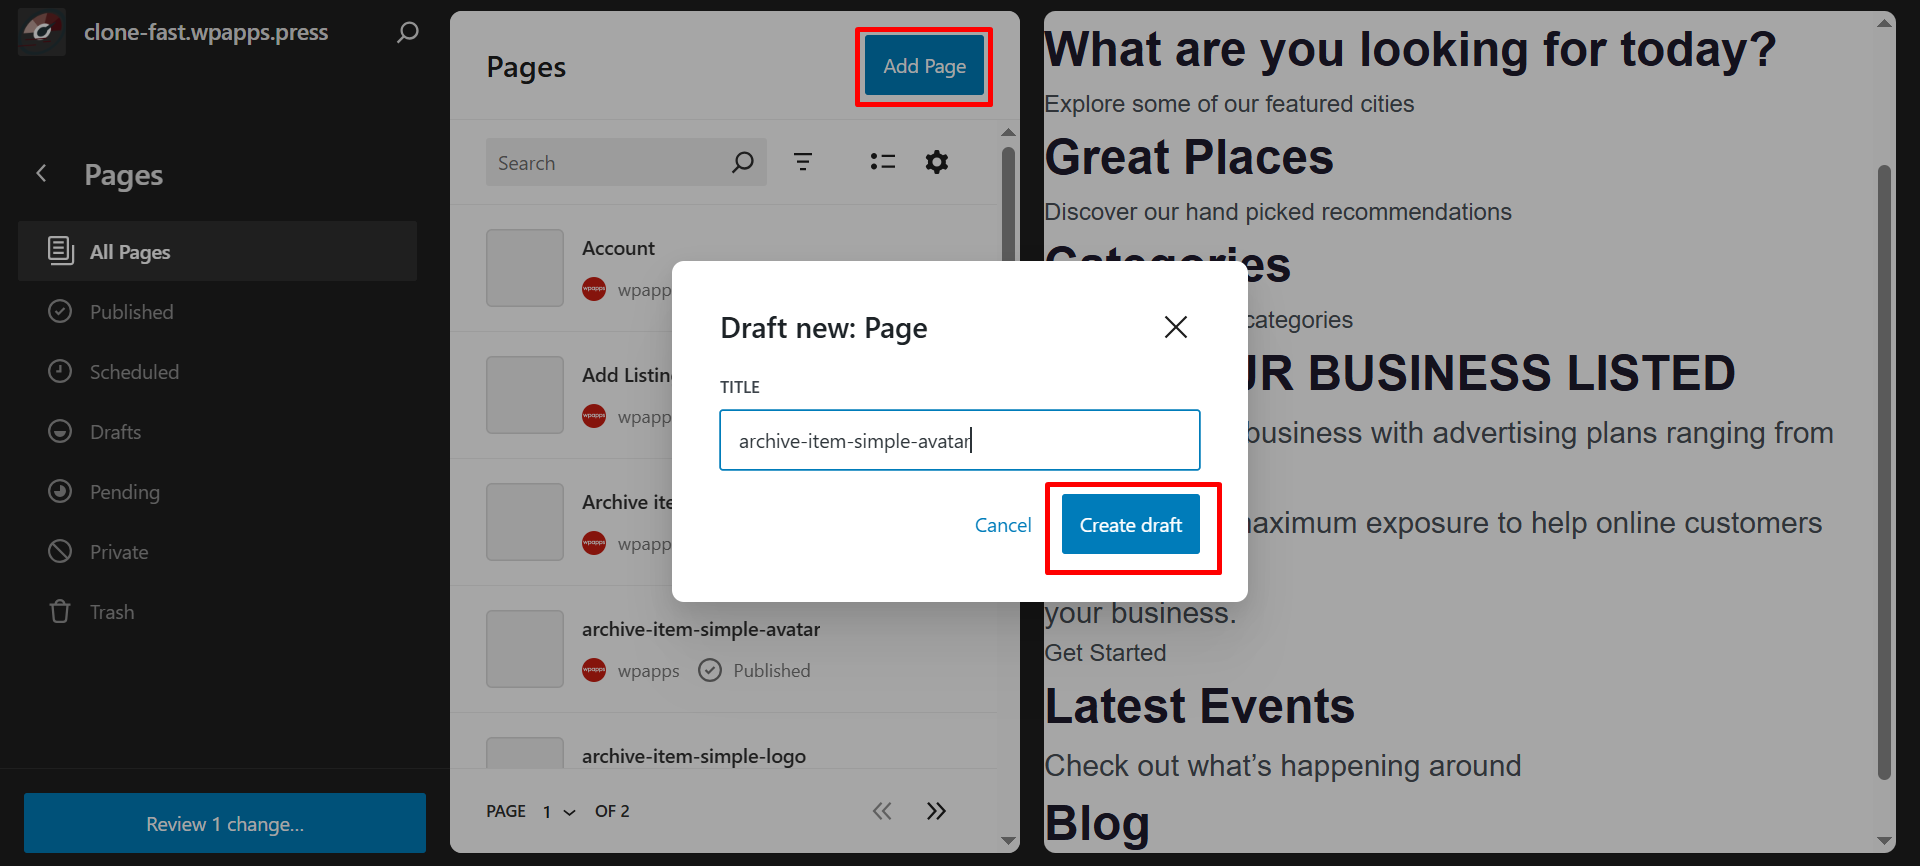
- Click the Add Page Design button, enter the page title, and click Create Draft.
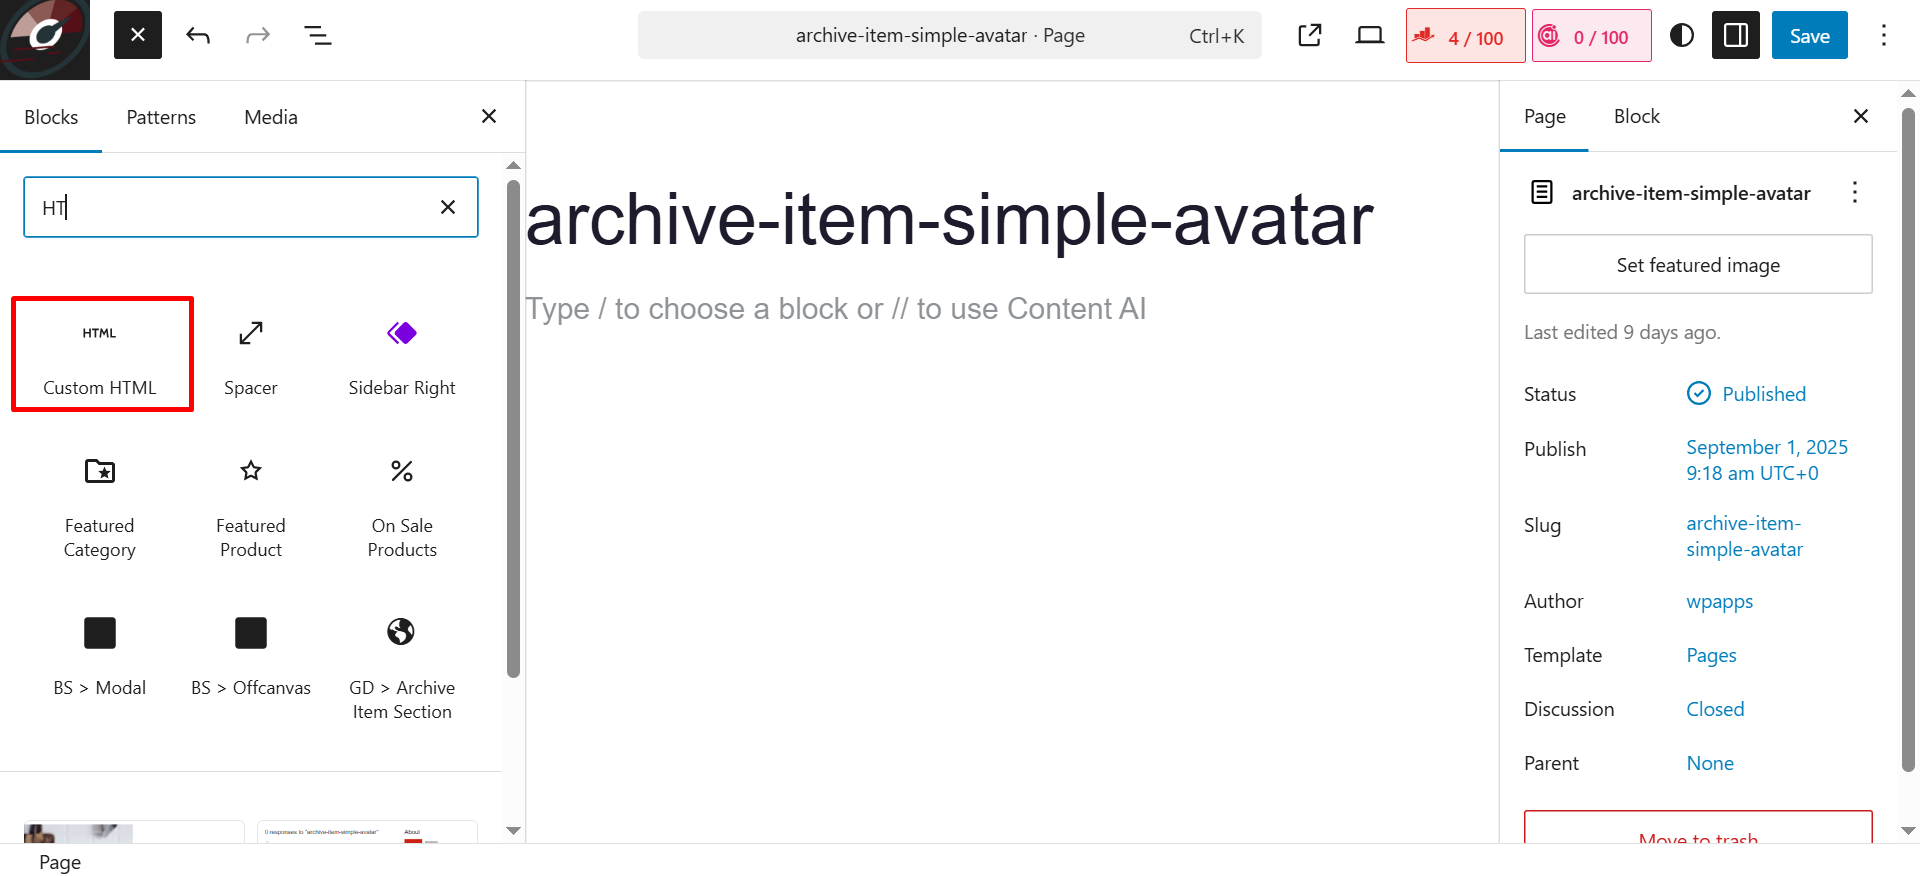
Step 4: Add Custom HTML Block
- Insert a Custom HTML block in the editor.
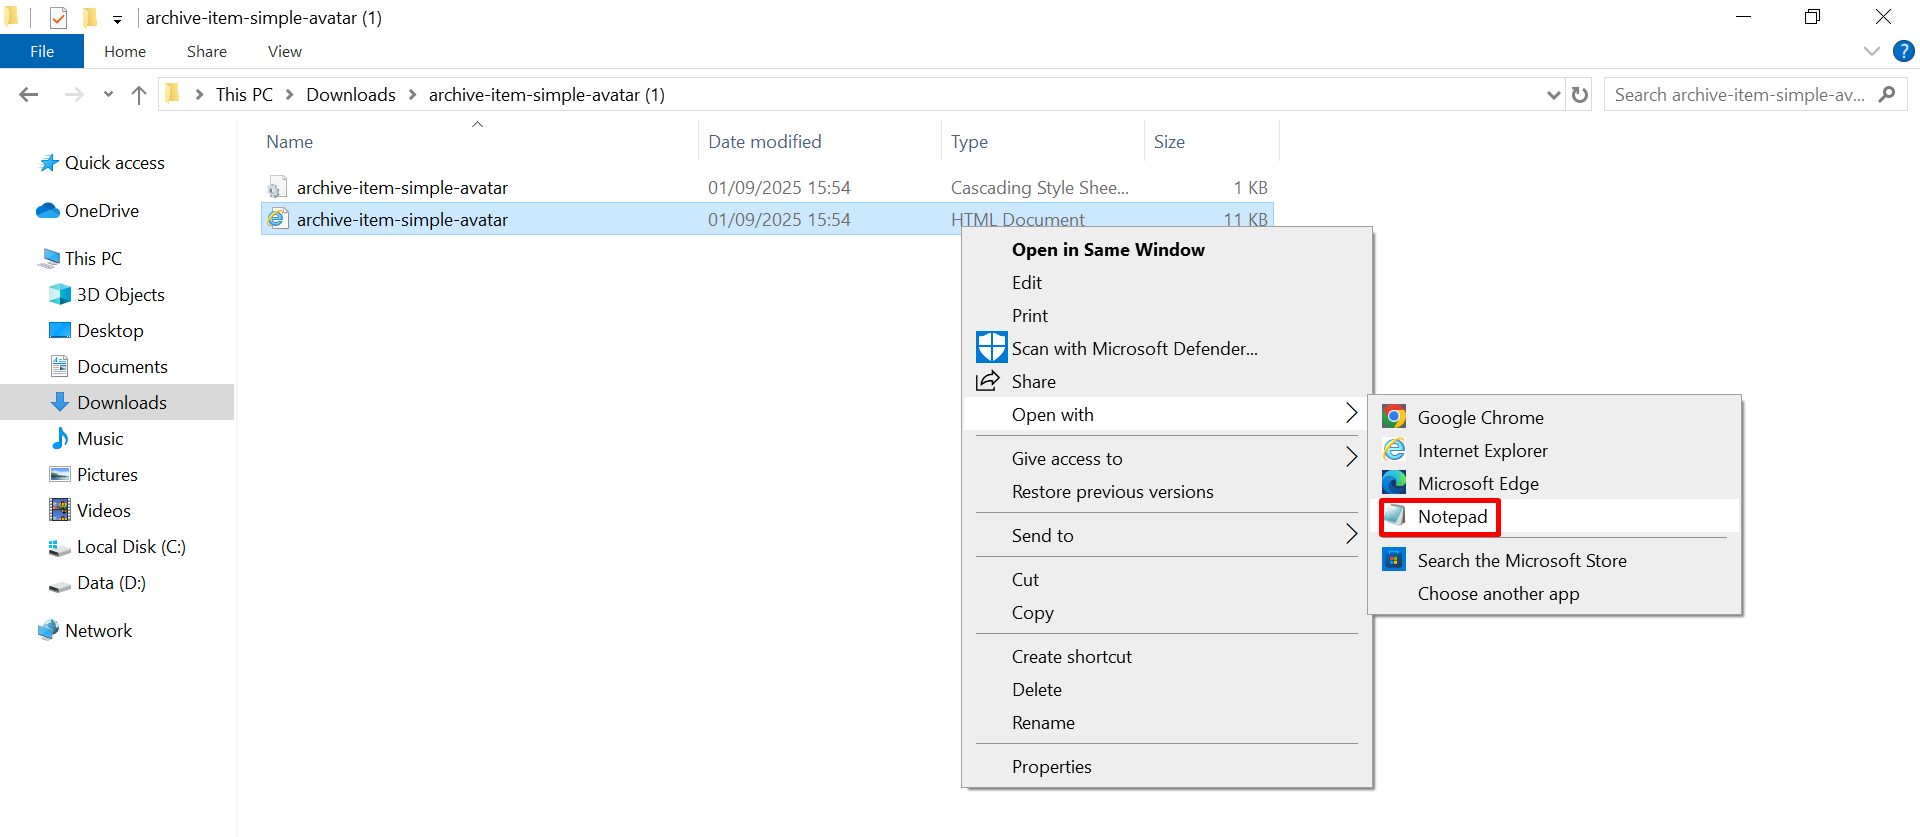
- Go back to the extracted document folder, right-click the HTML file, and choose Open with Notepad.
- Copy all the HTML code.
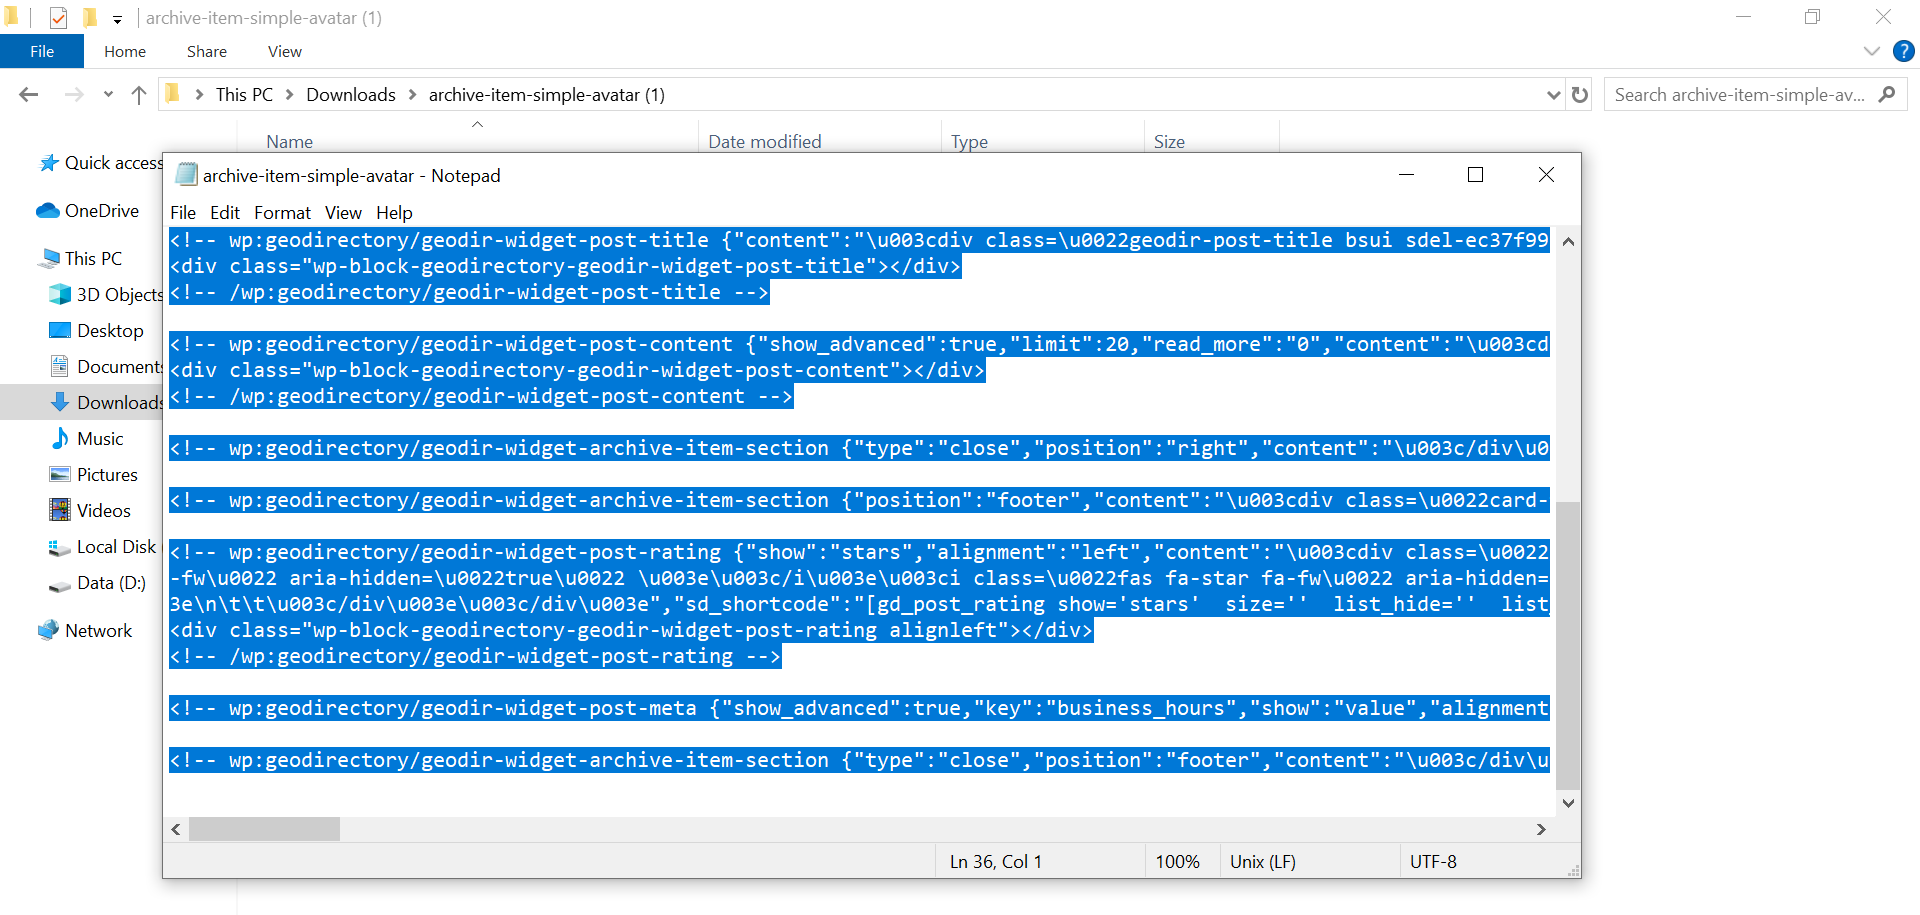
- Paste the copied HTML code into the Custom HTML block you added earlier.

- Click Save and then Restore Editor.
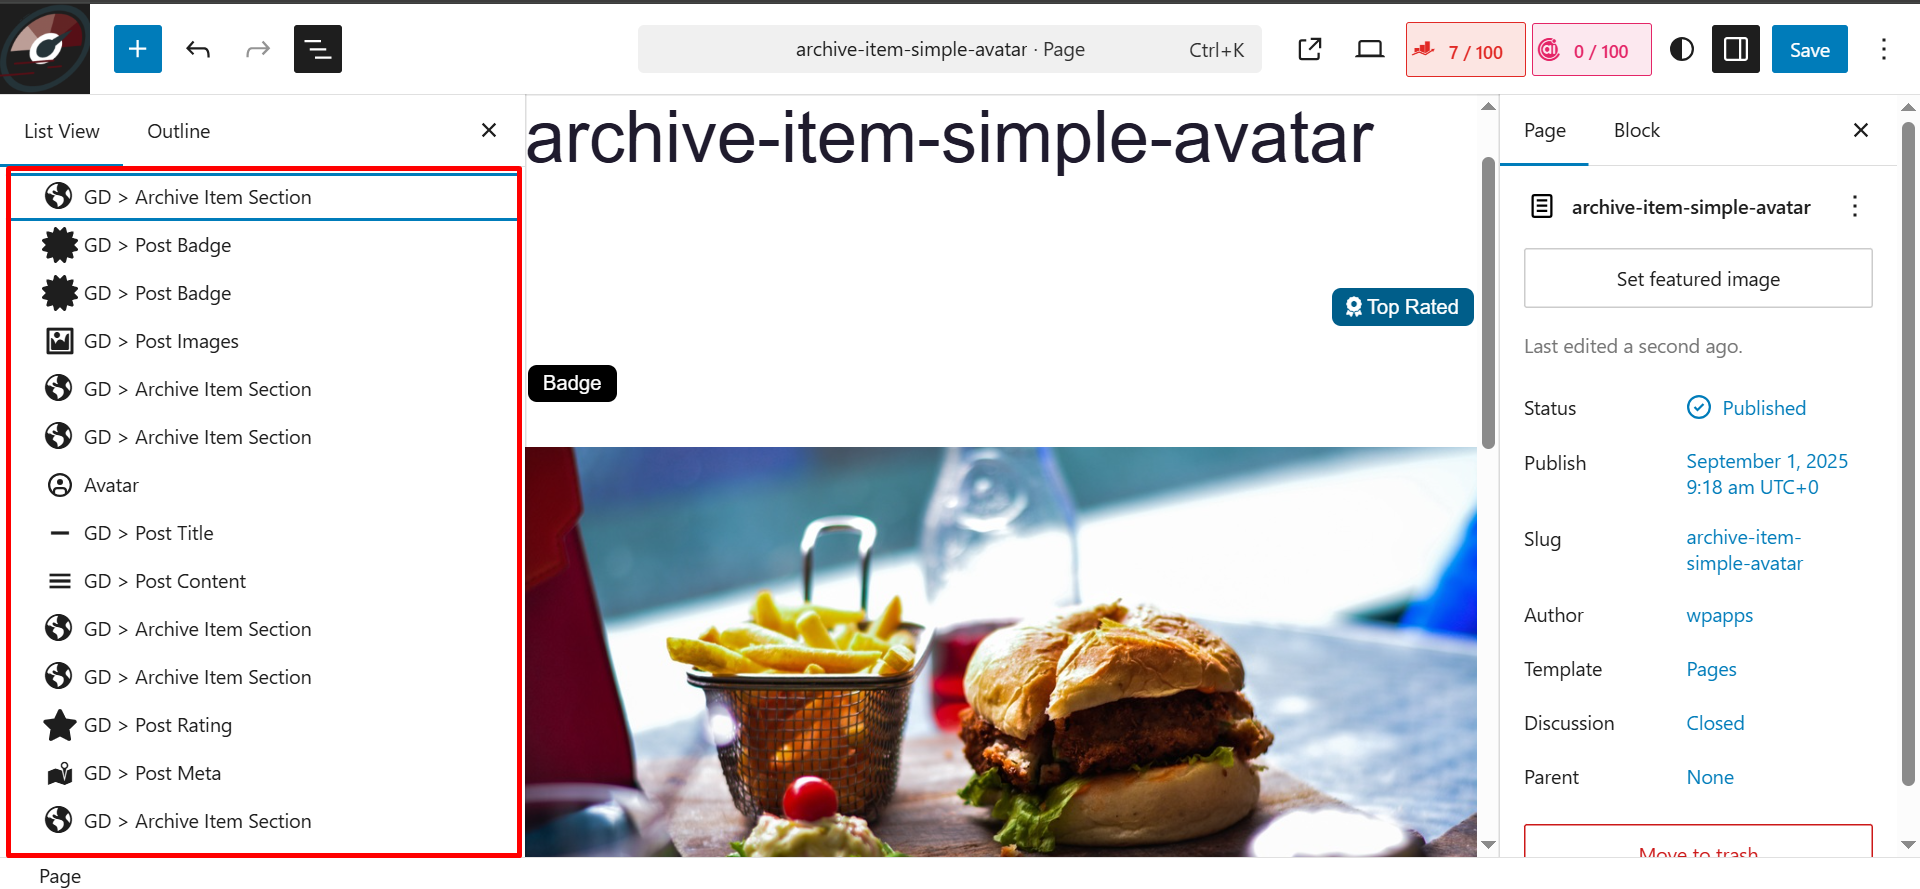
- Check the List View — the HTML will now be transformed into block widgets.
Step 5: Apply Template to Archive Page
- Go to the Archive Page.
- Add a Block Loop.
- In the settings, choose Design → Template Type: Page ID, then select the template page you created earlier.
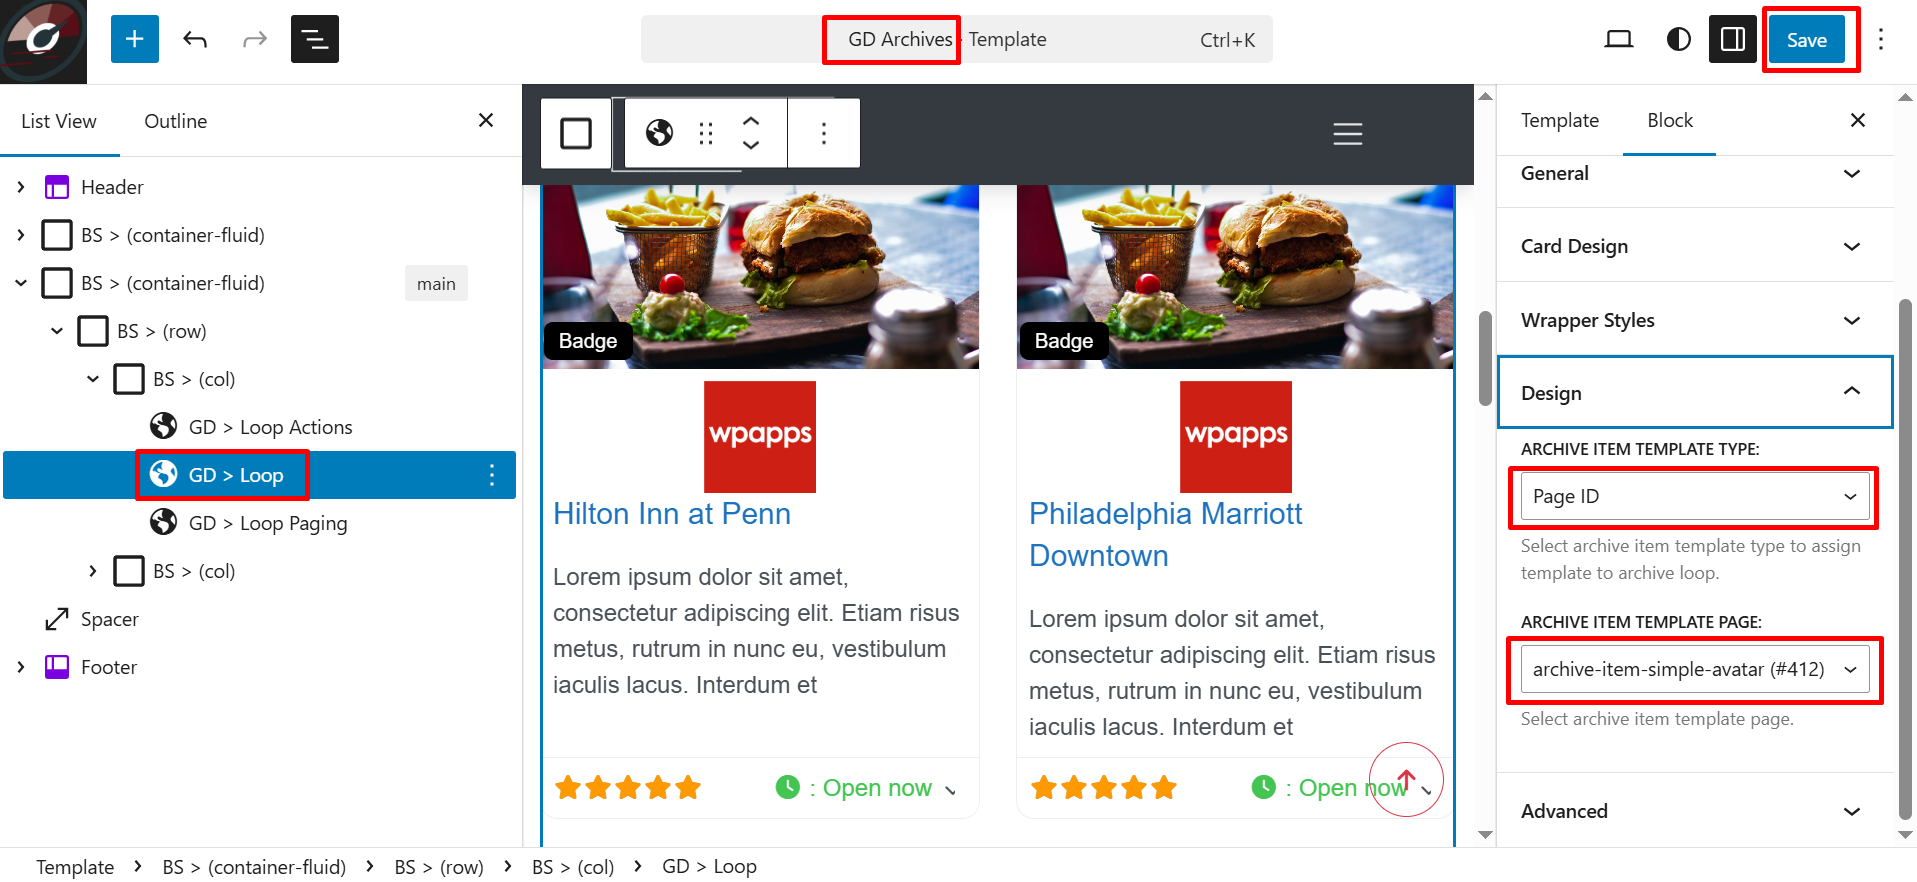
- Click Save.
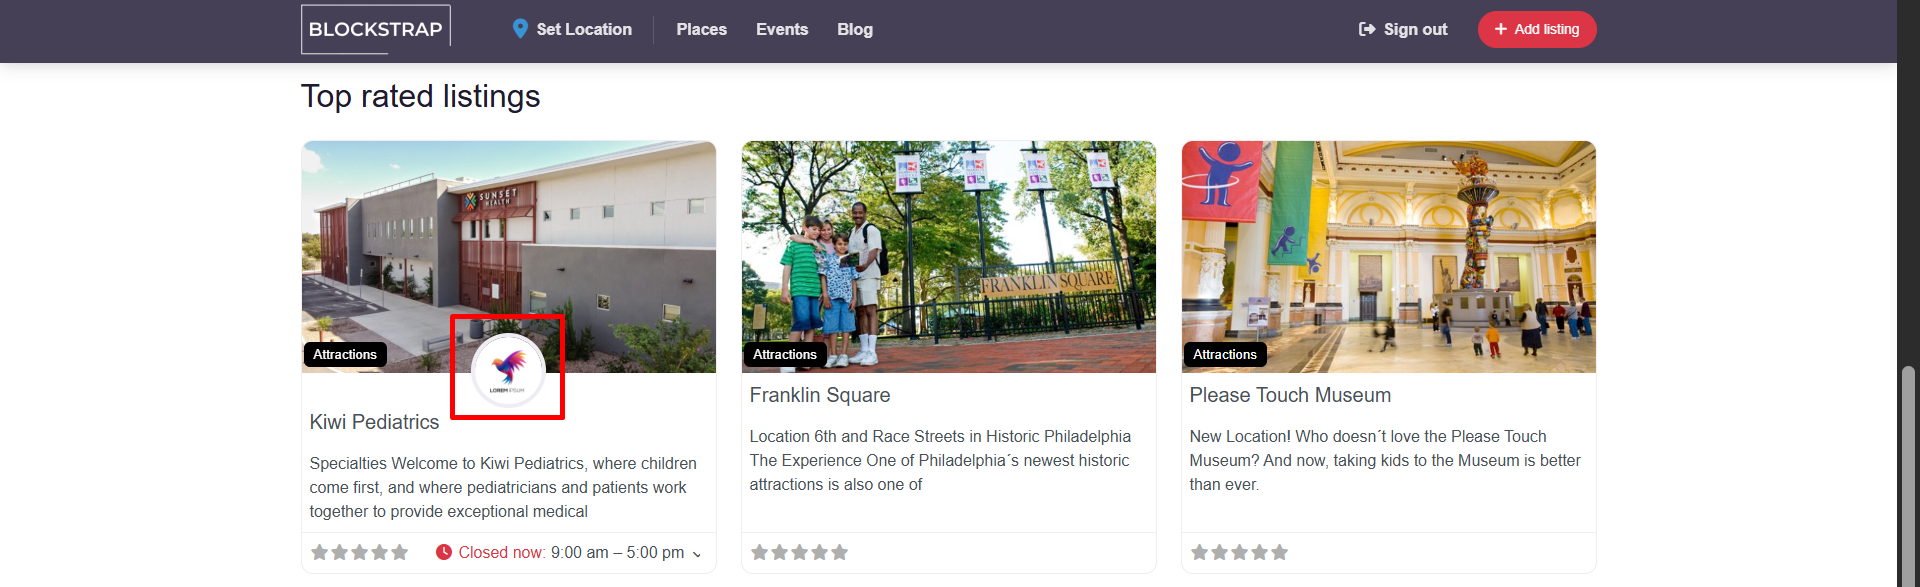
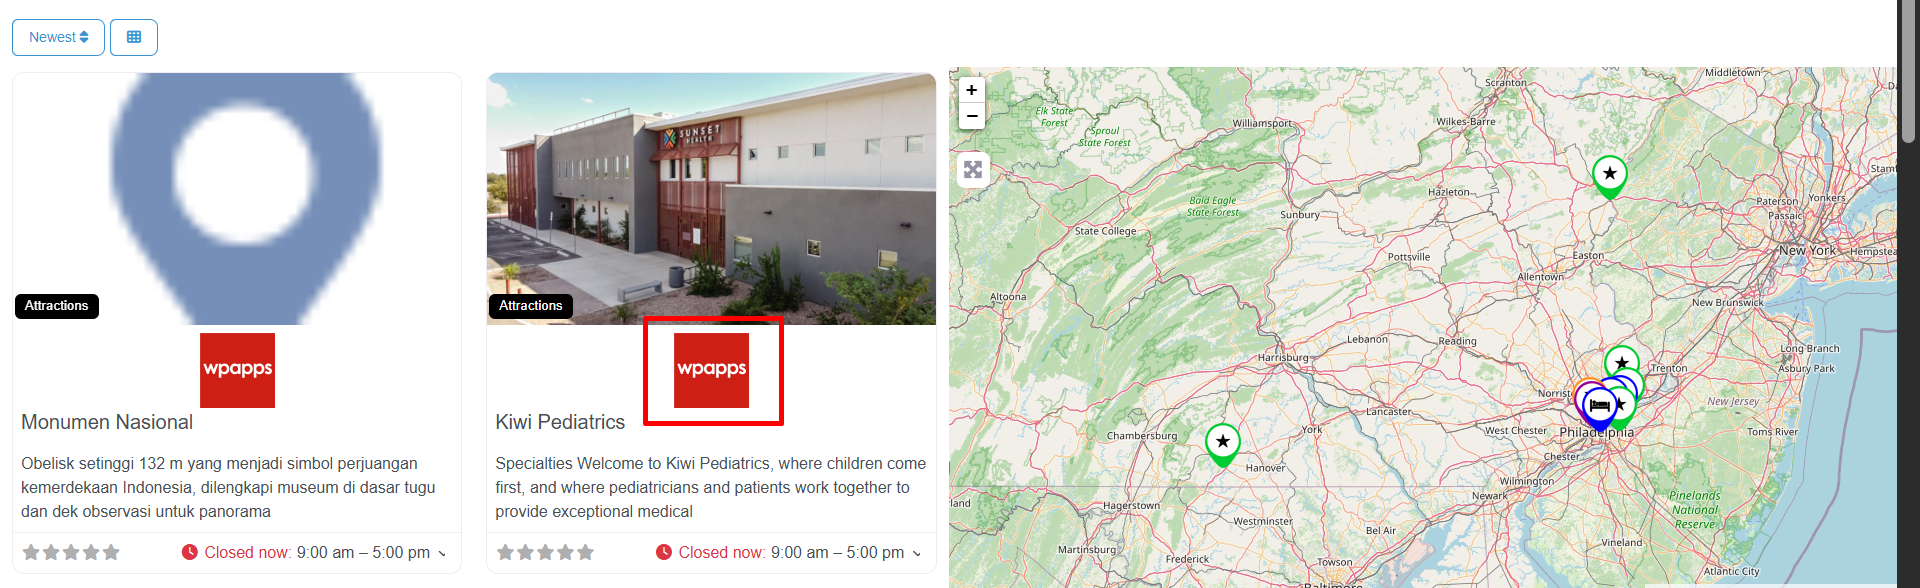
Step 6: Adjust Avatar Image Shape
- You will notice that the GD Author photo still appears square instead of round.
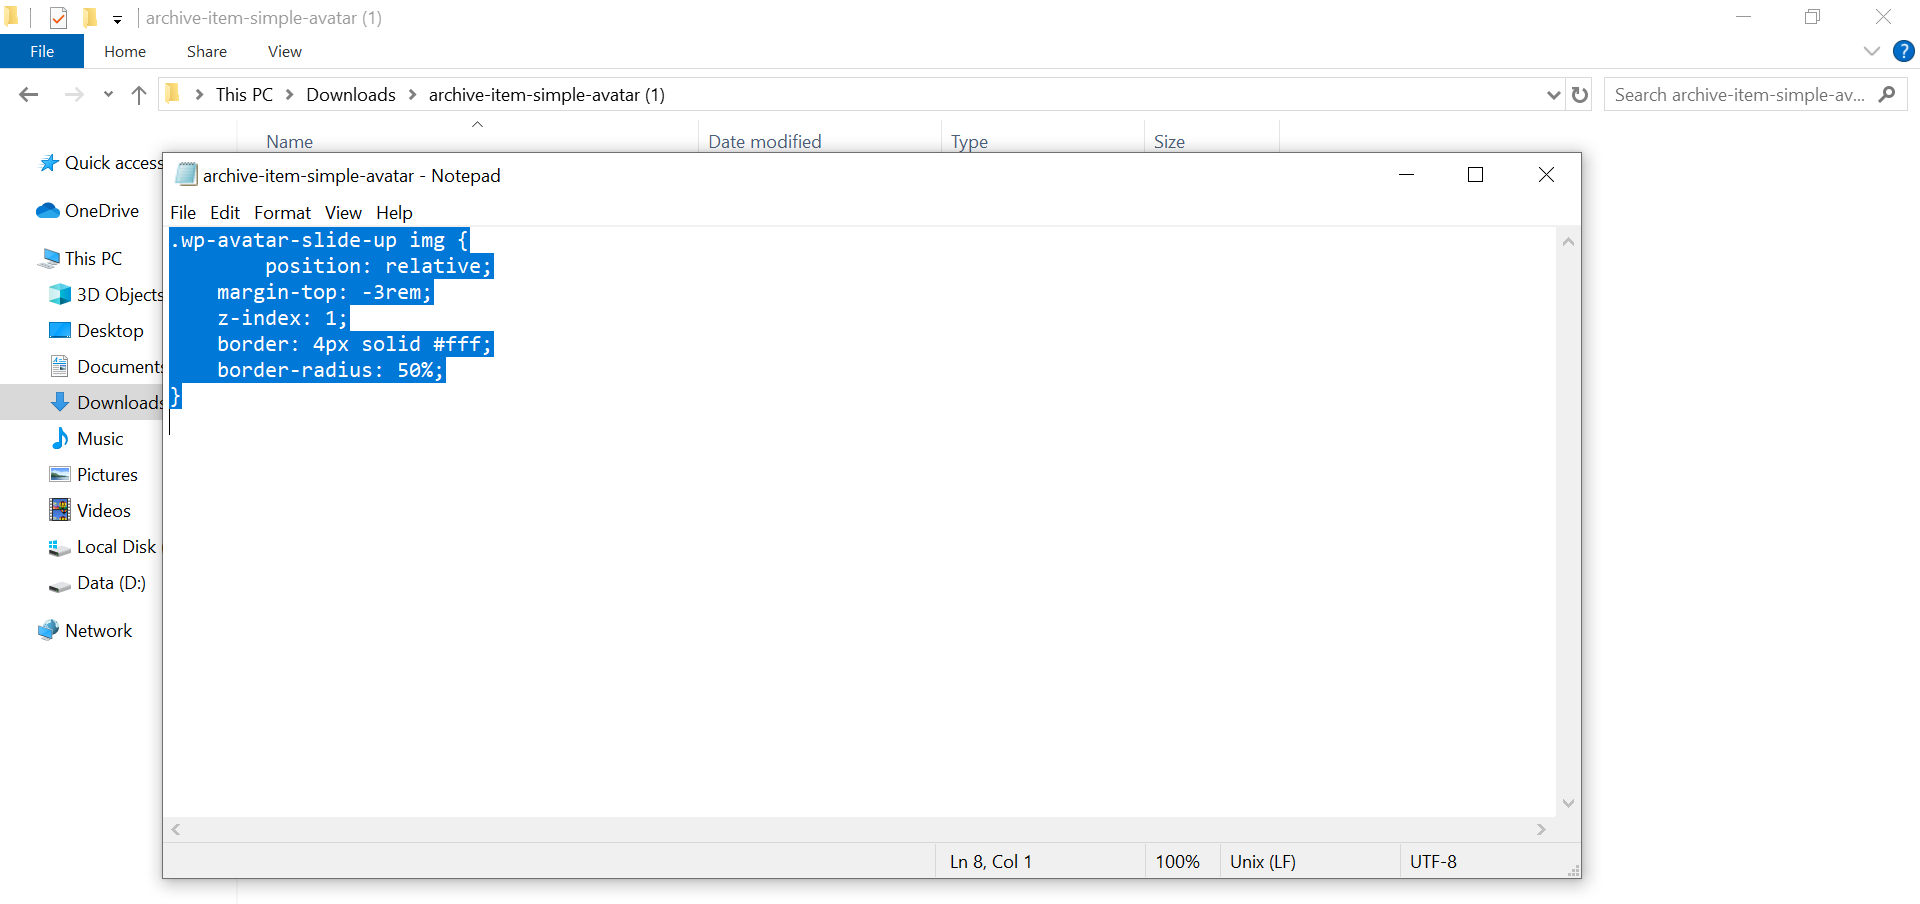
- Open the extracted folder again, right-click the CSS file, and choose Open with Notepad.
- Copy all the CSS code.
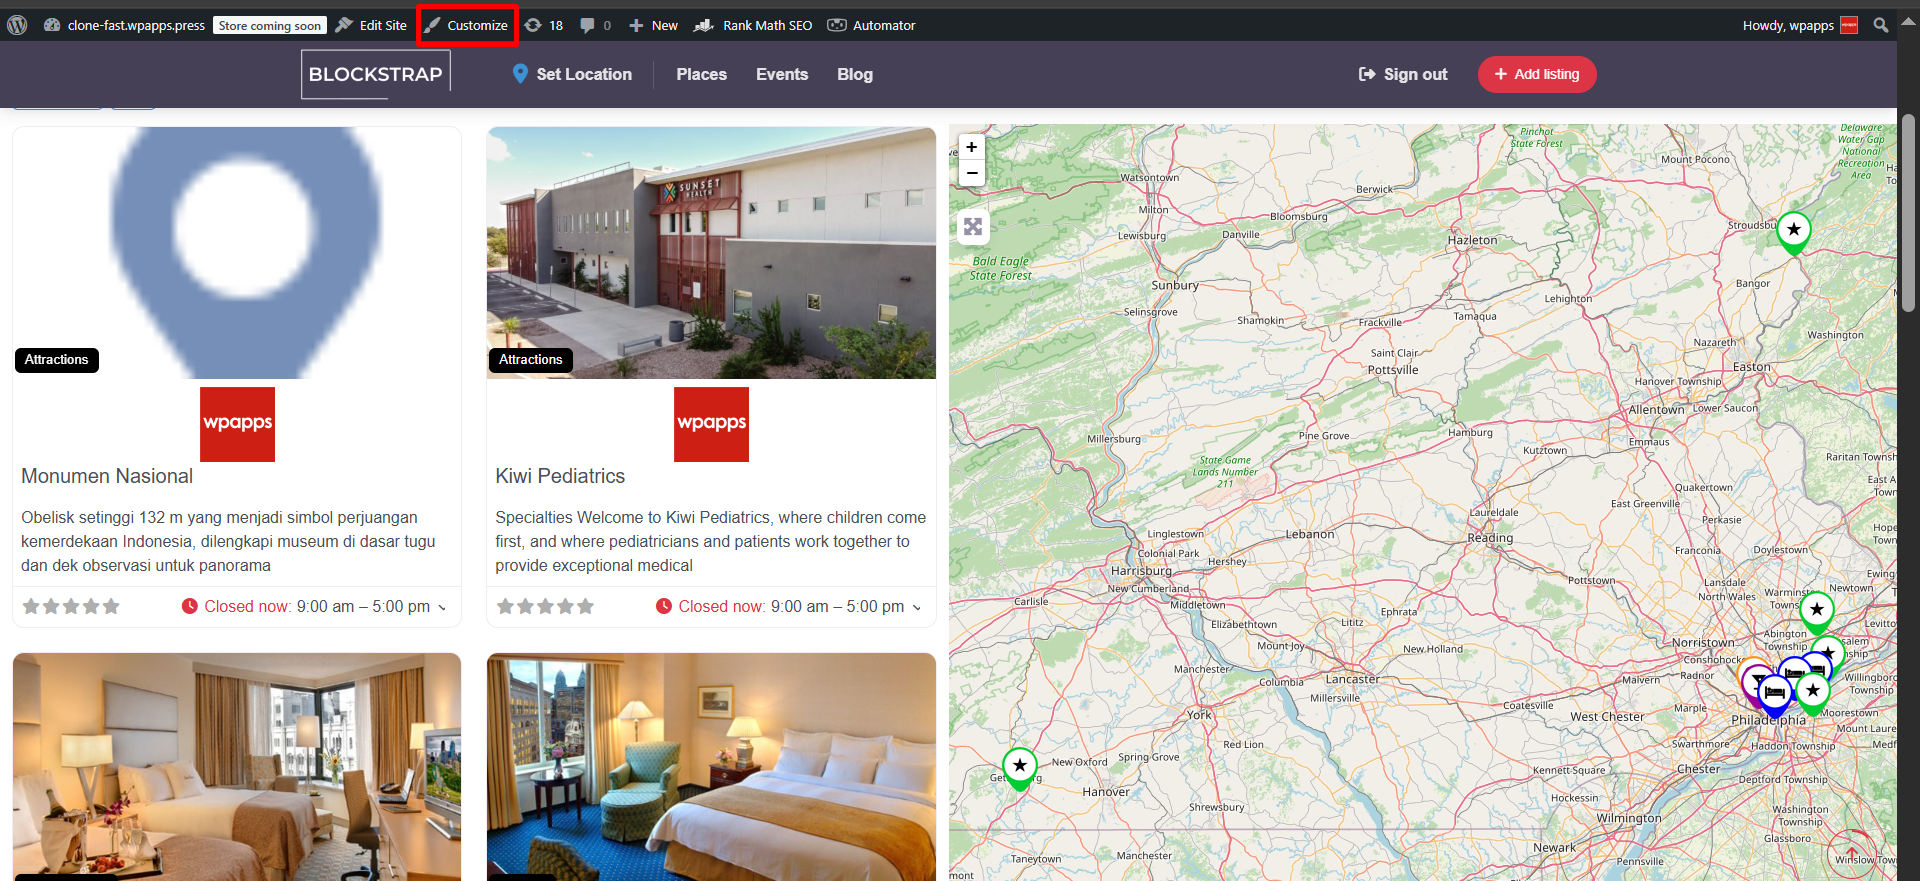
- Go to Admin → Customize → Additional CSS.
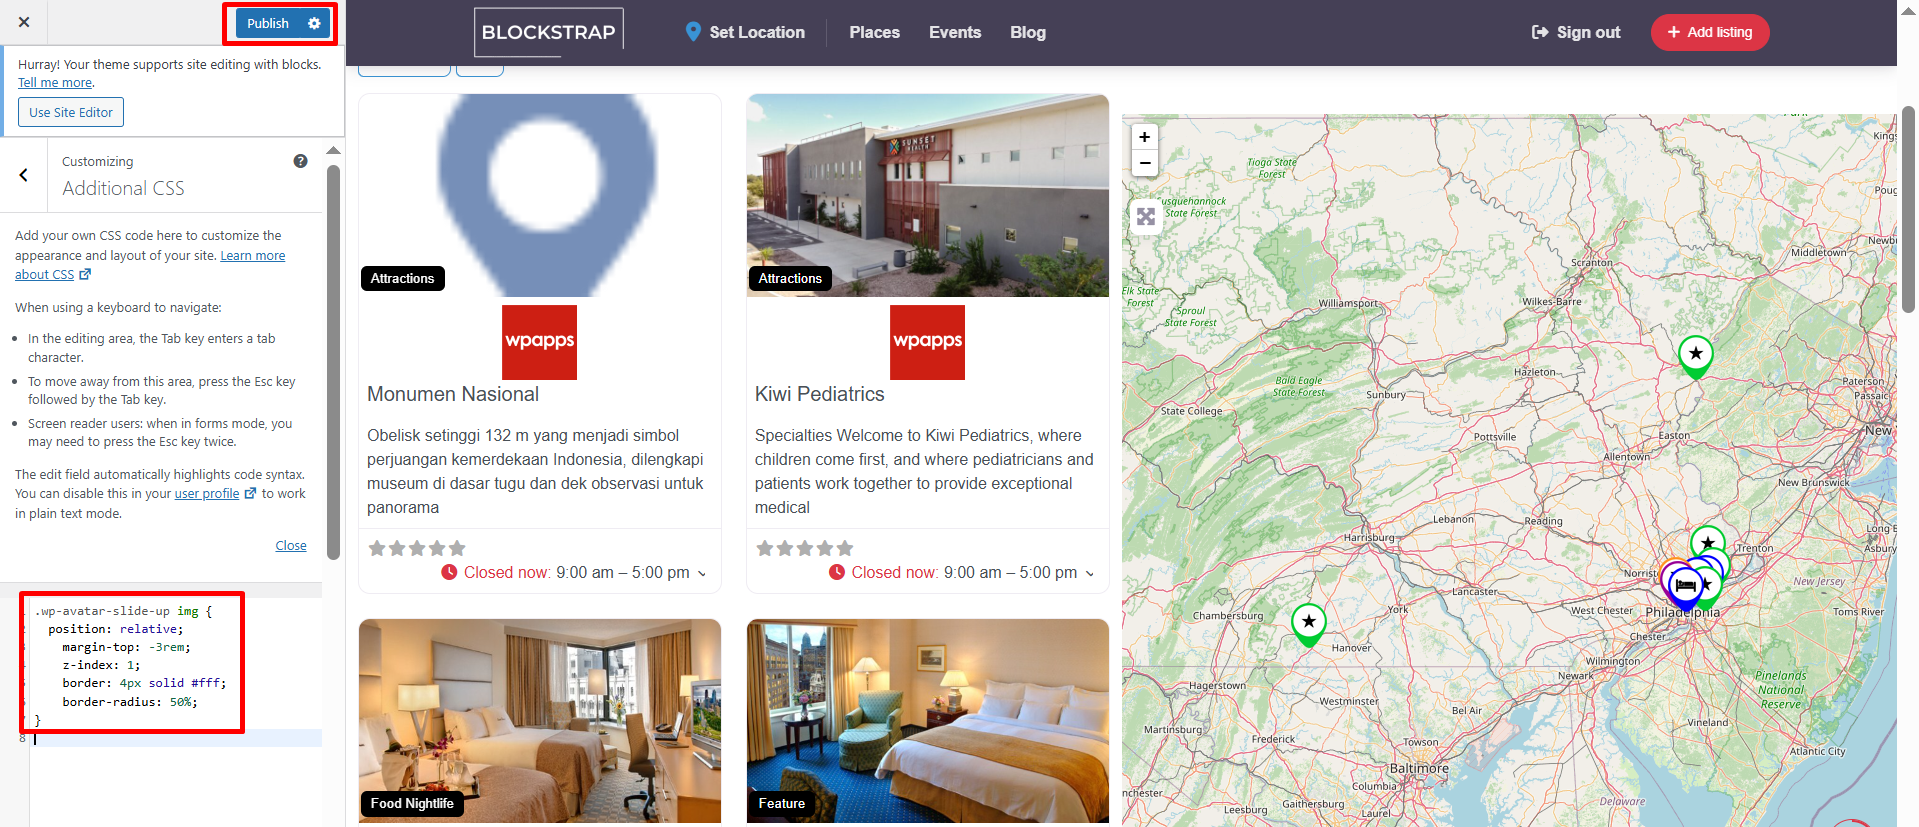
- Paste the copied CSS code there.
- Click Publish.
- Now, the avatar image will appear rounded.
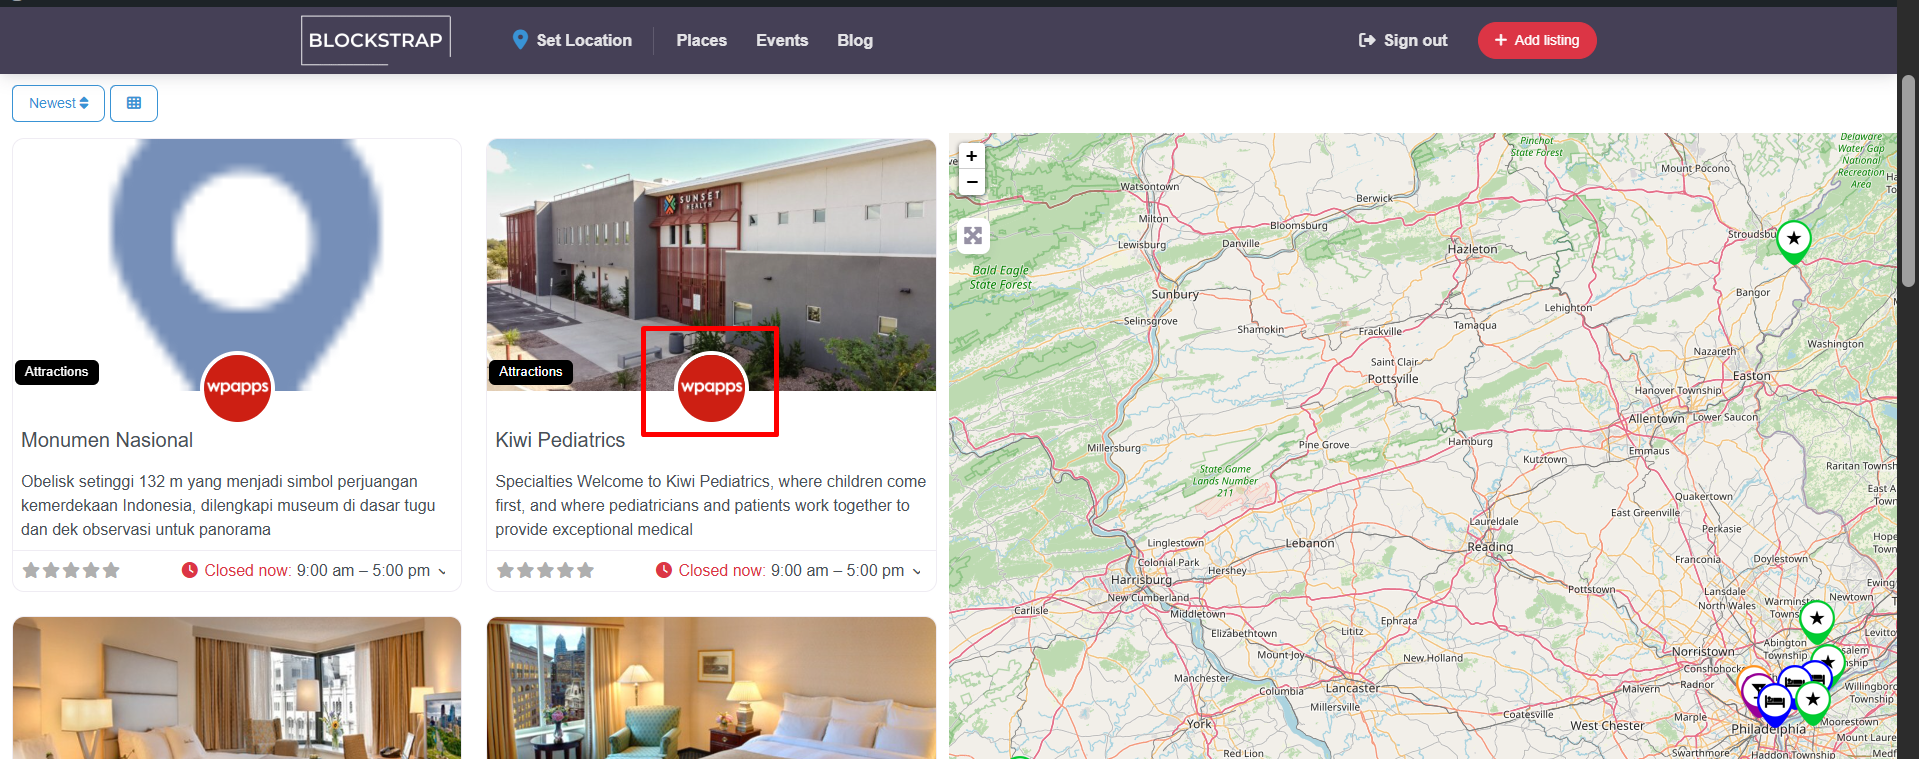
Step 7: Apply the Same Process for the Logo
- You can repeat the same steps used for the avatar to adjust the logo as well.
- This will finalize the appearance of your Archive Item Logo.